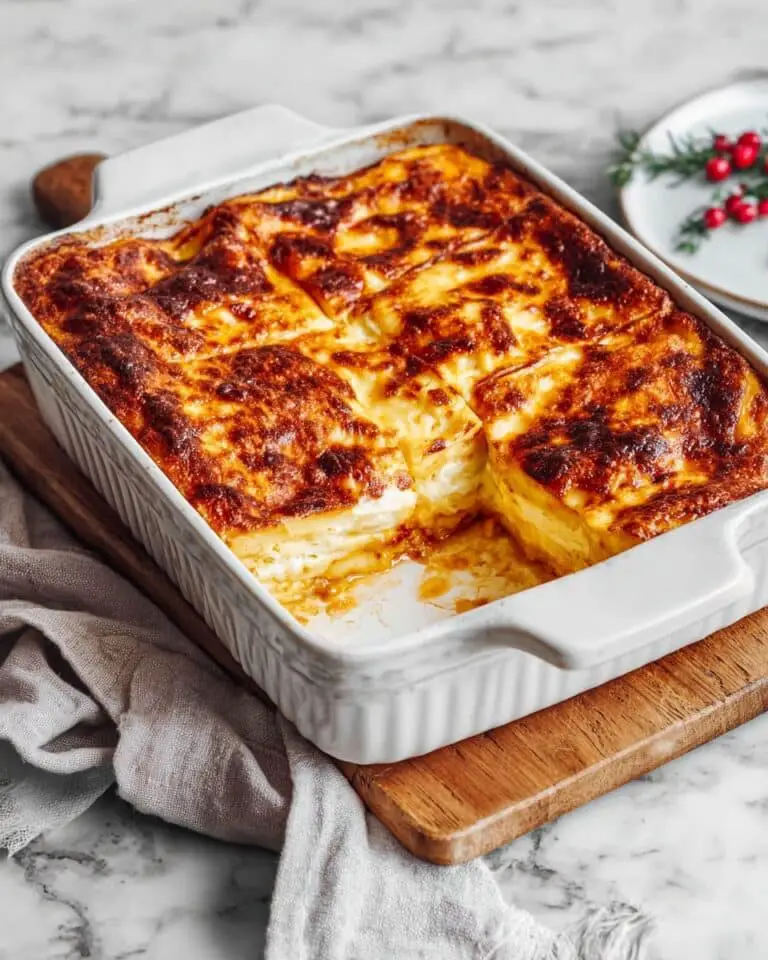
If you’re anything like me, you love quick, comforting recipes that actually pack a punch in flavor without a ton of fuss. That’s exactly why I’m excited to share this Turkey and Cheese Crescent Rolls Recipe with you—these little golden pockets are perfect for busy weeknights or even feeding a crowd with minimal effort. Soft, cheesy, and filled with savory turkey, they’ll have everyone asking for seconds before you know it!
Why You’ll Love This Recipe
- Super Simple Prep: Crescent rolls make assembly a breeze, so you can have these ready in no time.
- Family Friendly: My kids go crazy for these, making dinnertime a win without any complaints.
- Versatile Filling: You can easily swap out turkey for ham or chicken to suit what you have on hand.
- Perfect for Leftovers: This recipe is my go-to for using up leftover turkey, turning it into a delicious new meal.
Ingredients You’ll Need
Choosing the right ingredients really makes this Turkey and Cheese Crescent Rolls Recipe shine. I love using good-quality deli turkey and a mix of cheeses to get that perfect melt and flavor combo.
- Crescent roll dough: Using refrigerated dough saves time and gives you that soft, buttery texture everyone loves.
- Cooked turkey: Leftover turkey or deli turkey slices work beautifully here.
- Shredded cheese: I usually pick a sharp cheddar or a blend for extra flavor and gooeyness.
- Optional add-ins: A touch of spinach or herbs can add fresh notes if you want.
- Butter: Brushing the rolls before baking helps get that gorgeous golden crust.
Variations
I love making this Turkey and Cheese Crescent Rolls Recipe my own, and you can too! It’s super forgiving and easy to customize depending on what you’ve got in your fridge or what flavor mood you’re in.
- Spicy Kick: Adding diced jalapeños or a sprinkle of chili flakes gives it a lively twist—my husband is obsessed with this version!
- Vegetarian Delight: Swap the turkey for sautéed mushrooms and spinach for a meat-free but still hearty option I’ve enjoyed on busy nights.
- Different Cheeses: Feel free to use mozzarella or pepper jack instead of cheddar for different textures and flavors.
- Herb Boost: Fresh rosemary or thyme inside the filling brings out a bright aroma that I found elevates this simple recipe beautifully.
How to Make Turkey and Cheese Crescent Rolls Recipe
Step 1: Prep Your Ingredients and Dough
First things first: take your crescent roll dough out of the fridge so it can come to room temperature—it’s easier to work with and helps it bake up beautifully. Meanwhile, shred your cheese and slice or chop the turkey into bite-sized pieces. This step sets you up for smooth assembly without any frustration.
Step 2: Assemble the Rolls
Unroll your crescent dough and separate it into individual triangles. Place a small handful of turkey and shredded cheese at the wide end. Don’t overfill them—less is more to avoid any messy leaks while baking. Then, roll from the wide end toward the point, making sure to tuck in the filling.
Step 3: Bake to Golden Perfection
Place the rolls on a parchment-lined baking sheet, leaving space between them. I like to brush a bit of melted butter on top—that’s my secret for that irresistible golden sheen. Bake at 375°F (190°C) for 12–15 minutes or until they’re puffed up and beautifully golden brown. Keep an eye on them after the 10-minute mark—the smell will tell you they’re almost ready!
Pro Tips for Making Turkey and Cheese Crescent Rolls Recipe
- Room Temp Dough: Letting the dough sit out for 15 minutes helps prevent tearing and makes rolling so much smoother.
- Don’t Overstuff: Keep the filling modest to avoid cheese oozing out during baking—yet still achieve that melty goodness inside.
- Butter Brush Magic: Brushing melted butter on top creates that irresistible golden crust everyone will rave about.
- Watch Closely: Every oven is different, so start checking around 12 minutes to avoid overbaking.
How to Serve Turkey and Cheese Crescent Rolls Recipe
Garnishes
I usually sprinkle some freshly chopped parsley or chives on top after baking—it adds a pop of color and brightness that balances the richness beautifully. Sometimes, a little side of tangy mustard or cranberry sauce brings the whole dish to life, especially when serving for a casual gathering.
Side Dishes
These crescent rolls pair wonderfully with a crisp green salad or even a warm bowl of soup like tomato basil or butternut squash. I’ve found that simple roasted veggies or a light coleslaw also round out the meal perfectly without overpowering the flavors.
Creative Ways to Present
For holiday parties or potlucks, I like to arrange the crescent rolls in a circular pattern on a platter, kind of like a wreath. Add some fresh herbs in the center and little bowls of dip nearby for a festive and inviting presentation that always gets compliments.
Make Ahead and Storage
Storing Leftovers
Leftovers keep surprisingly well—they stay tender and flavorful when stored in an airtight container in the fridge for up to 3 days. When I do this, I like to separate layers with parchment paper so they don’t stick together.
Freezing
If you want to prep ahead, you can freeze the assembled but unbaked crescent rolls on a baking sheet. Once frozen solid, transfer them to a freezer bag. When ready to bake, just thaw in the fridge overnight and bake as directed. I discovered this saves me on busy nights and the results are just as good as fresh!
Reheating
To bring leftover rolls back to life, I reheat them in a 350°F oven for about 8-10 minutes. Skipping the microwave keeps that crisp, golden exterior and melty cheese inside instead of turning soggy.
FAQs
-
Can I make Turkey and Cheese Crescent Rolls Recipe ahead of time?
Absolutely! You can assemble the crescent rolls ahead and freeze them before baking. Then just thaw overnight in the fridge and bake fresh when you want to serve.
-
What type of turkey works best for this recipe?
Leftover roasted turkey, deli turkey slices, or even shredded rotisserie chicken all work well here. Just make sure it’s cooked and trimmed of excess moisture for best results.
-
Can I use other fillings besides turkey and cheese?
Yes! Feel free to swap in ham, cooked chicken, veggies, or even a mix of cheeses. This recipe is very versatile and adapts to what you love or have available.
-
How do I prevent the crescent rolls from getting soggy?
Don’t overfill the rolls, and brush them with melted butter before baking to keep the crust crisp. Also, baking on parchment paper helps avoid excess moisture buildup.
Final Thoughts
This Turkey and Cheese Crescent Rolls Recipe is such a gem if you’re looking for quick comfort food that doesn’t skimp on taste. I love how customizable it is—and honestly, it’s been a lifesaver when I want something cozy but fuss-free. Trust me, once you try this, it’ll become your go-to for breakfast, lunch, or dinner. Give it a whirl and let me know your favorite variations—I’m always here cheering you on in the kitchen!
Print
Turkey and Cheese Crescent Rolls Recipe
- Prep Time: 15 minutes
- Cook Time: 15 minutes
- Total Time: 30 minutes
- Yield: 12 quesadillas
- Category: Main Course
- Method: Stovetop
- Cuisine: Mexican
Description
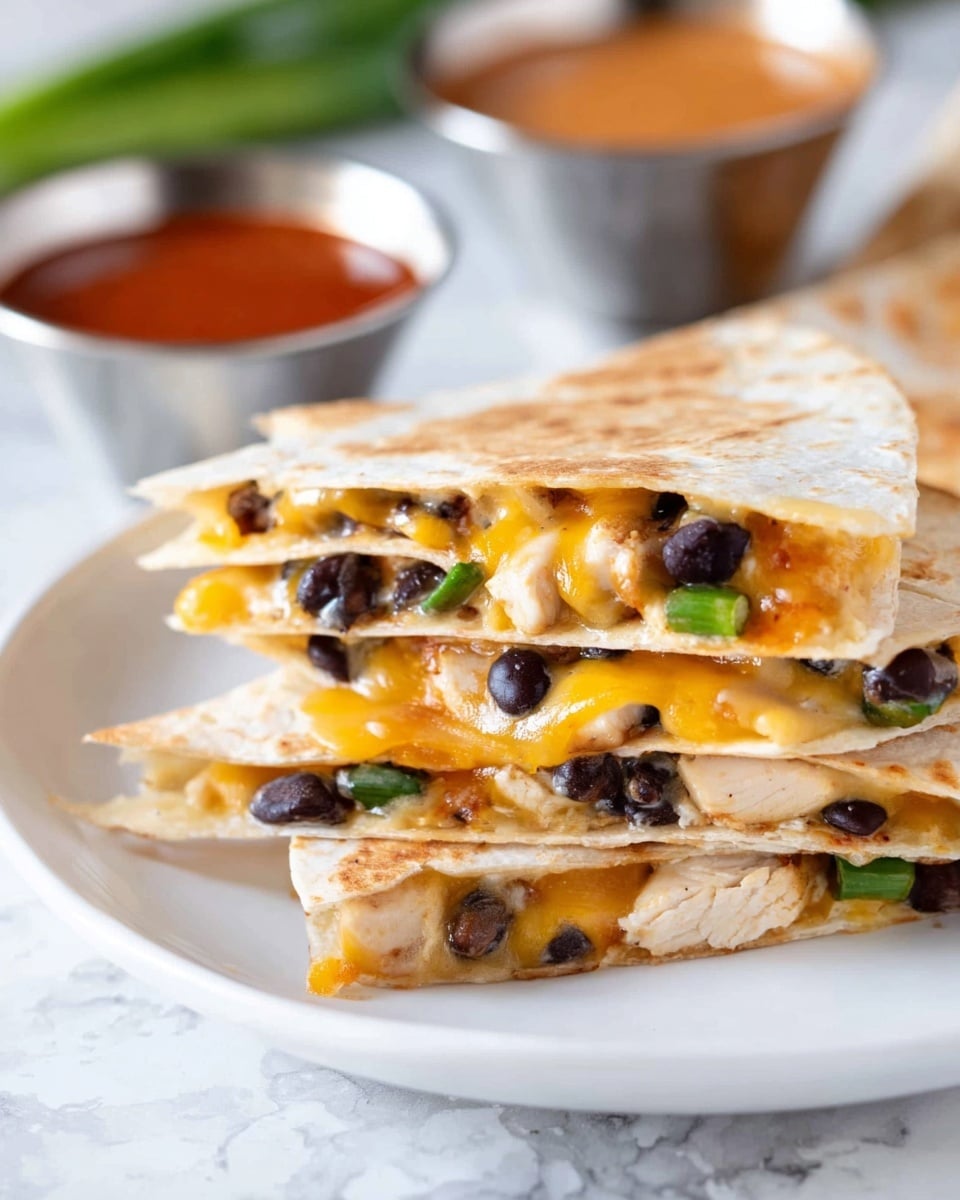
These Turkey Quesadillas are a delicious and easy way to transform leftover turkey into a flavorful, kid-friendly meal. Loaded with sautéed onions, bell peppers, black beans, corn, and Mexican cheese, they offer a perfect blend of textures and tastes. Cooked on the stovetop until golden and crispy, these quesadillas can be served with a spicy chipotle sauce for an extra kick.
Ingredients
Turkey Mixture
- 1 tbsp avocado oil or extra virgin olive oil (EVOO)
- 1/2 white onion, chopped
- 1/2 bell pepper, chopped
- 2 cups cooked turkey, shredded or chopped
- 1 can black beans, rinsed and drained
- 1/2 can sweet corn, rinsed and drained
- 1/3 cup green onion, chopped
- 1/3 cup cilantro, chopped
- Salt and pepper, to taste
Quesadillas
- 12 tortillas (flour or corn, depending on preference)
- 2 cups Mexican shredded cheese blend
- 1 batch chipotle sauce (optional, for serving)
Instructions
- Prepare the Turkey Mixture: Heat the avocado oil or EVOO in a large nonstick skillet over medium heat. Add the chopped onions and bell peppers and sauté until tender, about 5 minutes. Stir occasionally to avoid burning.
- Add Turkey and Vegetables: Add the cooked turkey to the skillet and sauté for 1-2 minutes to warm through. Then mix in rinsed black beans, sweet corn, green onions, and cilantro. Season with salt and pepper to your preference. Stir well to combine all flavors. Remove the mixture from the skillet and set aside. Wipe the skillet clean.
- Assemble the Quesadillas: Spray or lightly oil the skillet and heat it over medium-high heat. Place one tortilla in the skillet as the base. Layer cheese evenly over the tortilla, add a generous amount of the turkey mixture, then sprinkle another layer of cheese on top. Finally, place a second tortilla on top to form the quesadilla.
- Cook Until Crispy: Cook the quesadilla until the bottom tortilla is browned and crispy, about 3-4 minutes. Carefully flip the quesadilla using a wide spatula and cook the other side until golden and cheese is melted, about another 3-4 minutes.
- Repeat and Serve: Repeat the assembly and cooking process with the remaining tortillas, turkey mixture, and cheese. Serve warm, optionally accompanied by chipotle sauce for those who enjoy extra heat.
Notes
- These quesadillas are ideal for using up leftover turkey and make a quick, kid-friendly meal.
- Adjust the amount of cheese and turkey mixture according to the size of your tortillas.
- Chipotle sauce adds a smoky, spicy flavor that complements the quesadillas well but is optional.
- For crispier quesadillas, ensure the skillet is well heated before adding tortillas.
Nutrition
- Serving Size: 0.5 quesadilla
- Calories: 284 kcal
- Sugar: 4 g
- Sodium: 428 mg
- Fat: 10 g
- Saturated Fat: 5 g
- Unsaturated Fat: 3 g
- Trans Fat: 0.002 g
- Carbohydrates: 32 g
- Fiber: 6 g
- Protein: 16 g
- Cholesterol: 33 mg

