
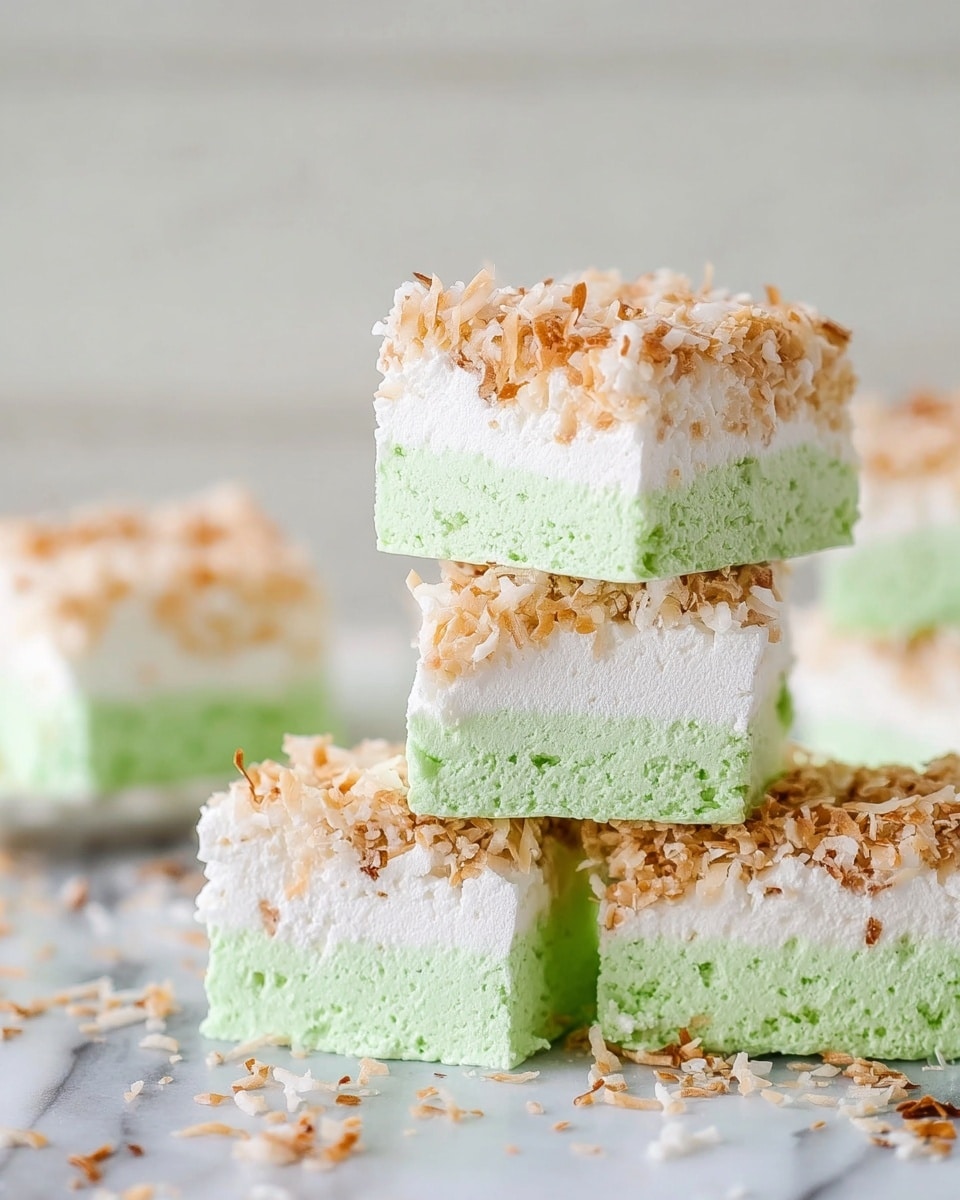
If you’ve ever wanted to jazz up your s’mores game or just enjoy a wildly fun treat, this Toasted Coconut and Lime Marshmallows Recipe is an absolute must-try. I’m telling you, the combination of toasted coconut’s warm, nutty flavor with the fresh zing of lime in a fluffy marshmallow is just next-level. Plus, these aren’t your average store-bought marshmallows — they’re homemade, wonderfully chewy, and perfectly toasted on the outside. Keep reading and I’ll walk you through everything step-by-step so your kitchen becomes the happiest place for these tropical delights!
Why You’ll Love This Recipe
- Unique Flavor Combo: The toasted coconut provides warmth and crunch, while the lime adds a refreshing citrus punch you don’t find in typical marshmallows.
- Homemade Fun: Making marshmallows yourself feels like a magical kitchen adventure — and you get a big batch of soft, fluffy goodness to reward yourself with.
- Perfect Texture: These marshmallows are chewy without being sticky or overly sweet, thanks to the corn syrup and gelatin balance I’ve dialed in over time.

Ingredients You’ll Need
Each ingredient here plays a vital role, and I love how they come together to create those iconic fluffy, toasted layers. A quick tip: Invest in a good food-grade gelatin and fresh limes — they’ll make a noticeable difference in flavor and texture.
- Sweetened coconut shreds: Toasting these brings out a deep, nutty flavor that’s essential for the top and bottom layers.
- Granulated sugar: Provides the sweetness and structure for both layers. Regular granulated sugar works best here.
- Light (clear) corn syrup: Keeps the marshmallows smooth and prevents crystallization — a key to that perfect soft texture.
- Salt: Just a pinch enhances all the flavors without making it salty.
- Cool water: Helps to bloom the gelatin and dissolve the sugars evenly.
- Vital Proteins grass-fed beef gelatin: This is my go-to gelatin for firmness and clean taste.
- Coconut extract: Adds that distinct coconut aroma in the toasted coconut marshmallow layer.
- Lime zest: Fresh zest brightens the lime layer so it’s light, tangy, and vibrant.
- Green food coloring (optional): Just a drop gives a subtle citrus glow, but it’s totally optional.
Variations
I’m all about adapting this Toasted Coconut and Lime Marshmallows Recipe to suit your mood or occasion. Whether you want to dial up the tropical vibes or keep it subtle, these marshmallows are a wonderful blank canvas for your creativity.
- Use fresh lime juice instead of zest: I tried this once and got a more tart, lively flavor — but be mindful not to add too much liquid or it affects the texture.
- Make it vegan-friendly: You can swap gelatin for agar powder, but it does require recipe adjustments and a bit of trial.
- Swap coconut extract for vanilla: If you prefer a more classic marshmallow with just a twist of lime, this works beautifully.
- Add a sprinkle of chili powder or cayenne: My adventurous friends swear by this for a spicy-sweet combo that’s phenomenal on s’mores.
How to Make Toasted Coconut and Lime Marshmallows Recipe
Step 1: Toast the Coconut to Golden Perfection
Start off by warming a small skillet over medium heat, then toss in your sweetened coconut shreds. Keep stirring frequently — coconut can go from golden to burnt in seconds. You’re aiming for a light golden brown color that smells nutty and sweet. This step adds the key toasty crunch and aroma that really makes these marshmallows unforgettable.
Step 2: Prepare Your Pan with Care
Line a 9×5″ bread loaf pan with parchment paper both ways so you get a fully removable marshmallow slab. Spray or lightly grease any exposed sides — this little step saves you a world of trouble when it’s time to lift out your marshmallows. Then spread half of the toasted coconut evenly on the bottom; this creates that crunchy base layer. Save the rest for topping later.
Step 3: Make the Toasted Coconut Marshmallow Layer
In a medium saucepan, combine sugar, corn syrup, salt, and half the water (3 tbsp). Heat over high, bringing the mix to a boil without stirring too much — stir gently if needed to avoid crystallization. Use a candy thermometer clipped to the pan edge and cook until it reaches exactly 237°F. This precise temperature is the secret to chewy marshmallows instead of hard candy.
While the syrup heats, bloom the gelatin by sprinkling it over the remaining 3 tbsp water in a large bowl. Let it sit undisturbed for a few minutes — this softens the gelatin and ensures it dissolves smoothly.
Once your sugar syrup hits 237°F, slowly pour it in a thin stream into the gelatin while beating continuously with a hand mixer (not a stand mixer). This method prevents the syrup from crystallizing on the edges and keeps everything silky smooth. Keep beating for 5-10 minutes until the mixture turns white, fluffy, and marshmallow-y. Before spreading, fold in the coconut extract for that extra layer of tropical flavor.
Pour this heavenly mixture into your prepared pan over the toasted coconut base, smoothing the top gently. Let it set while you clean and prepare for the next layer — trust me, this pause helps you get super clean edges and evenly layered marshmallows.
Step 4: Make the Lime Marshmallow Layer
Repeat the same sugar syrup process as the first layer: sugar, corn syrup, salt, and 3 tbsp water to boil to 237°F. Bloom your gelatin in the other 3 tbsp water simultaneously. Then slowly pour the hot syrup into the gelatin while beating with your hand mixer. Beat until the fluff appears and you reach that classic marshmallow density. Toss in the freshly grated lime zest and, if you want, a drop of green food coloring to brighten things up.
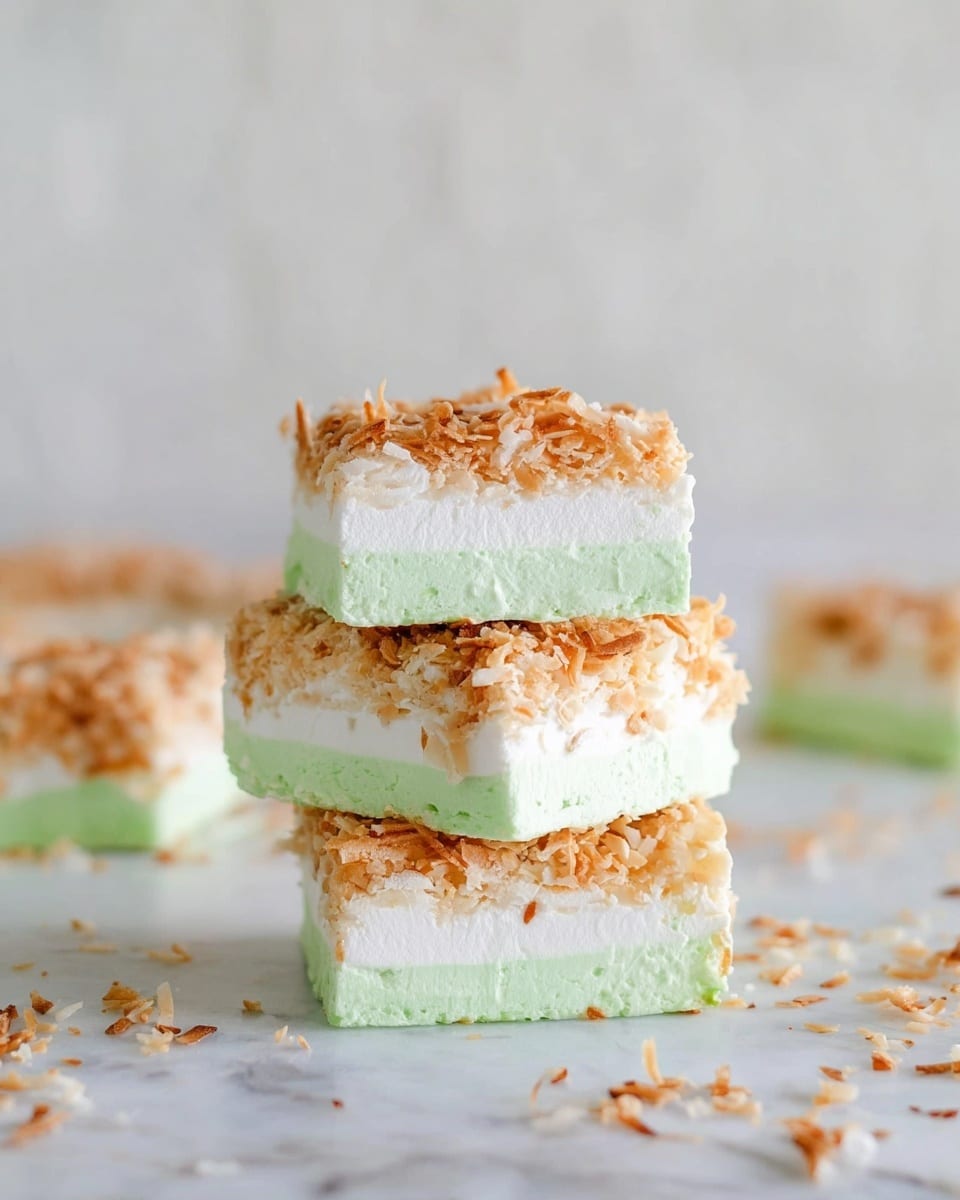
Gently spread this lime marshmallow fluff right on top of the hardened coconut layer and immediately sprinkle the remaining toasted coconut shreds on top while the marshmallow is still tacky. This top coat adds great crunch and a rustic look you’ll definitely want to Instagram.
Let your marshmallow masterpiece set for at least two hours at room temperature before slicing into eight big, fluffy squares. The wait really is worth it — these marshmallows hold their shape and texture beautifully.
Pro Tips for Making Toasted Coconut and Lime Marshmallows Recipe
- Go Slow Pouring Syrup: Pour the sugar syrup in a thin stream slowly to avoid shocking the gelatin and prevent clumps.
- Use a Reliable Candy Thermometer: I learned the hard way that an off-temp syrup means either rubbery or brittle marshmallows — accuracy is key!
- Don’t Use a Stand Mixer for Pouring Syrup: The hand mixer gives you better control and avoids scratching your equipment or splattering hot syrup.
- Grease Your Parchment Well: Trust me, a well-greased pan ensures your marshmallows pop right out cleanly for perfect squares every time.
How to Serve Toasted Coconut and Lime Marshmallows Recipe
Garnishes
I love to sprinkle a few extra toasted coconut shreds on top just before serving to amp up texture and visuals. Sometimes, I’ll add a tiny bit of finely chopped candied ginger — it pairs insanely well with the lime zest and coconut flavors, giving a little kick.
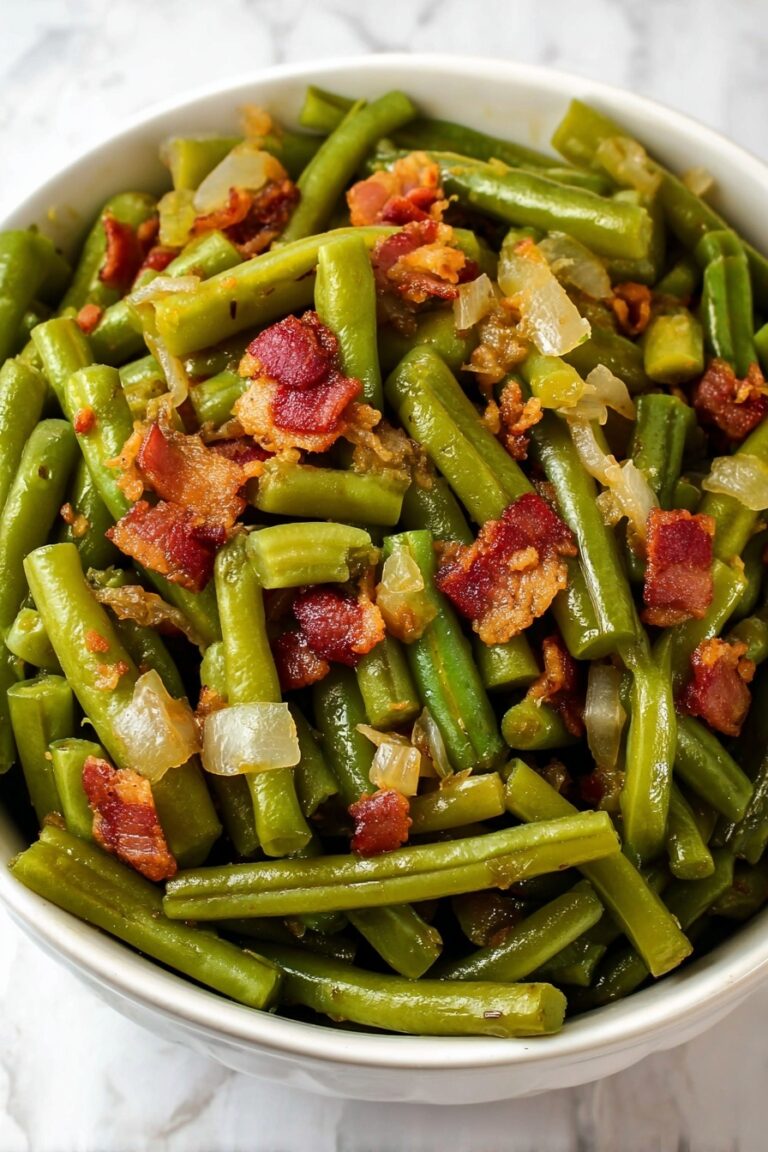
Side Dishes
For a fun party, these marshmallows are incredible alongside fresh fruit skewers — think pineapple, mango, and kiwi — that enhance the tropical vibe. They also pair wonderfully with a rich hot chocolate or a cup of lightly brewed green tea to balance sweetness.
Creative Ways to Present
Try cutting the marshmallows into fun shapes using cookie cutters for kids’ parties! I once arranged mine in a layered dessert tray drizzled with extra coconut cream and lime zest sprinkled on top — it was a showstopper for summer gatherings. Toasting them lightly with a kitchen torch right before serving adds that irresistible caramelized flavor and toasty aroma.
Make Ahead and Storage
Storing Leftovers
I store leftovers in an airtight container at room temperature, layered with parchment paper between marshmallows to keep them from sticking together. They usually stay soft and chewy for about a week, which means you can enjoy your homemade treat well beyond one sitting.
Freezing
Freezing works surprisingly well. I wrap individual marshmallow pieces tightly in plastic wrap and then store them in a freezer-safe bag. When you thaw them at room temp, they keep their texture without becoming soggy or hard — perfect if you want to prep ahead for a party.
Reheating
If you want that fresh-out-of-the-pan softness, just pop the marshmallows in the microwave for 7-10 seconds on low power. Be careful not to overheat or they’ll melt; this quick zap brings back that just-made fluffiness instantly.
FAQs
-
Can I make this Toasted Coconut and Lime Marshmallows Recipe without a candy thermometer?
While it’s possible, I highly recommend using a candy thermometer for accuracy. The marshmallow’s texture depends critically on reaching the right sugar stage (237°F). Without it, you risk ending up with marshmallows that are either too hard or too soft. If you don’t have one, there are videos that show sugar stages by eye, but for beginners, the thermometer truly makes the difference.
-
Can I substitute gelatin in this recipe?
You can try agar powder for a vegan alternative, but the texture won’t be quite the same since agar sets differently. I’ve experimented with agar before, and it tends to create a firmer, less chewy marshmallow. If you want the classic fluffy texture, I recommend sticking with gelatin.
-
How long will these homemade marshmallows stay fresh?
Stored in an airtight container at room temperature, these marshmallows will keep their best texture for about a week. Make sure to separate layers with parchment to avoid sticking. They may last longer but tend to dry out after that.
-
Can I add other flavors to this recipe?
Absolutely! The base recipe is very versatile. You might try swapping coconut extract for vanilla, or adding small amounts of almond extract or even a dash of cinnamon for variation. Just be mindful of balancing flavors so they don’t overpower the toasted coconut and lime.
Final Thoughts
This Toasted Coconut and Lime Marshmallows Recipe is one of those sweet kitchen projects that feels rewarding at every step and tastes even better than you imagine. I absolutely love how the toasted coconut adds a lovely crunch and warmth, balanced by the bright lime zest that feels like a little tropical vacation for your taste buds. Whether you’re making them for a cozy night in, a summer party, or a special gift, I’m confident these marshmallows will steal the show. Give it a go — your marshmallow game will never be the same!
Print
Toasted Coconut and Lime Marshmallows Recipe
- Prep Time: 40 minutes
- Cook Time: 20 minutes
- Total Time: 1 hour
- Yield: 8 large marshmallows
- Category: Dessert
- Method: Stovetop
- Cuisine: American
Description
A delightful recipe for Toasted Coconut and Lime Marshmallows featuring a toasted coconut layer and a zesty lime marshmallow layer. This treat combines rich tropical flavors with a fluffy, homemade marshmallow texture perfect for snacking or gifting.
Ingredients
Toasted Coconut Layer
- 1 cup sweetened coconut shreds
- 3/4 cup granulated sugar
- 1/3 cup light (clear) corn syrup
- Pinch of salt
- 6 tablespoons cool water
- 1 tablespoon Vital Proteins grass-fed beef gelatin
- 1/2 teaspoon coconut extract
Lime Marshmallow Layer
- 3/4 cup granulated sugar
- 1/3 cup light (clear) corn syrup
- Pinch of salt
- 6 tablespoons cool water
- 1 tablespoon Vital Proteins grass-fed beef gelatin
- Zest of 1 lime
- 1 drop green food coloring (optional)
Instructions
- Toast Coconut: In a small skillet, toast the sweetened coconut shreds over medium heat, stirring frequently until they are lightly golden brown. Be vigilant to prevent burning, then set aside.
- Prepare Pan: Line a 9×5-inch bread loaf pan with parchment paper in both directions, coating any exposed surfaces with cooking spray to prevent sticking. Spread half of the toasted coconut evenly on the bottom of the pan and reserve the remainder for topping.
- Make Toasted Coconut Marshmallow Layer Syrup: In a medium saucepan, combine 3/4 cup granulated sugar, 1/3 cup light corn syrup, a pinch of salt, and 3 tablespoons of cool water. Heat over high heat, gently stirring initially, then allow to boil until the mixture reaches 237°F using a candy thermometer.
- Bloom Gelatin for Coconut Layer: While syrup is heating, scatter 1 tablespoon of Vital Proteins gelatin over the remaining 3 tablespoons of cool water in a large bowl or stand mixer bowl and let it bloom undisturbed for a few minutes.
- Combine Syrup with Gelatin and Whip: Once the syrup reaches 237°F, very slowly pour it into the gelatin while continually beating with a hand mixer to avoid the syrup hardening on the bowl edges. Continue beating for 5-10 minutes until the mixture becomes fluffy and marshmallow-like.
- Add Flavoring and Spread Coconut Layer: Fold in 1/2 teaspoon of coconut extract gently, then spread this marshmallow mixture evenly over the toasted coconut base in the prepared pan.
- Clean Equipment for Lime Layer: Clean and dry all mixing equipment thoroughly to prepare for the next marshmallow layer.
- Make Lime Marshmallow Syrup: Repeat the syrup-making process by combining 3/4 cup granulated sugar, 1/3 cup light corn syrup, a pinch of salt, and 3 tablespoons cool water in a saucepan. Bring to boil until it reaches 237°F.
- Bloom Gelatin for Lime Layer: Sprinkle 1 tablespoon gelatin over the remaining 3 tablespoons cool water in a clean large bowl and let it bloom without stirring.
- Combine Syrup with Gelatin and Whip Lime Layer: Slowly pour the hot syrup into the gelatin while beating with a hand mixer. Beat for 5-10 minutes until the mixture is fluffy and white.
- Add Lime Zest and Optional Coloring: Stir in the zest of one lime and optionally one drop of green food coloring for visual appeal.
- Assemble and Top: Pour the lime marshmallow mixture over the set coconut marshmallow layer and immediately sprinkle the remaining toasted coconut shreds evenly on top.
- Set and Slice: Allow the assembled loaf to set at room temperature for at least two hours until firm. Then slice into 8 large marshmallows for serving.
Notes
- Use a candy thermometer to ensure accurate syrup temperature for perfect marshmallow texture.
- Hand mixer is recommended over stand mixer to carefully control syrup incorporation and prevent crystallization.
- Allow marshmallow layers to set properly before slicing for clean edges and best texture.
- Spraying the parchment paper and pan edges well helps prevent sticking when removing marshmallows.
- Adjust lime zest and coconut extract quantities to taste for more pronounced flavor if desired.
Nutrition
- Serving Size: 1 large marshmallow (approx. 60g)
- Calories: 140
- Sugar: 28g
- Sodium: 15mg
- Fat: 2g
- Saturated Fat: 1.8g
- Unsaturated Fat: 0.2g
- Trans Fat: 0g
- Carbohydrates: 32g
- Fiber: 0.5g
- Protein: 1g
- Cholesterol: 0mg
