
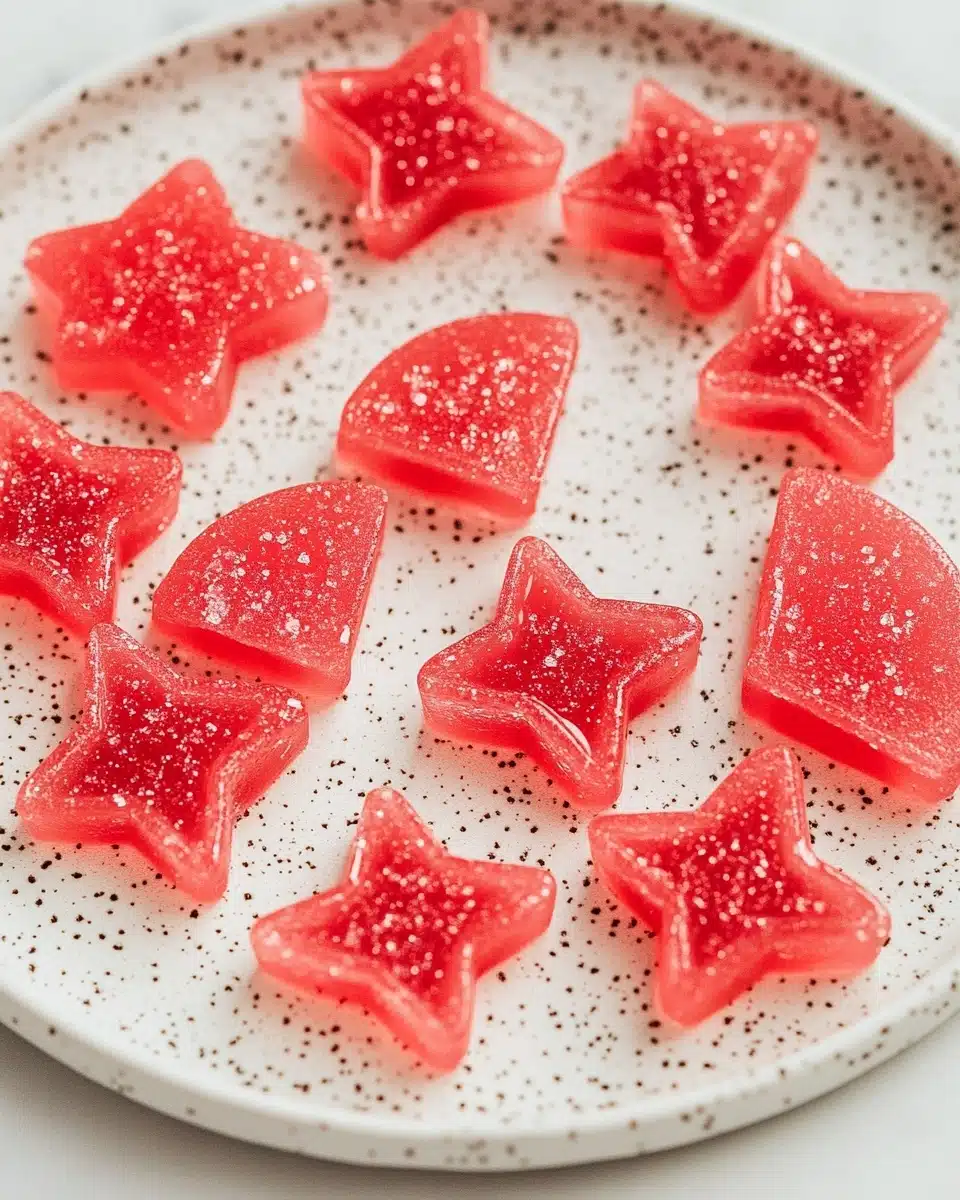
If you’ve ever wished you could whip up a chewy, ultra-juicy treat that’s a dead ringer for those famous tangy candies, these Sour Watermelon Gummies are your next kitchen adventure. Juicy watermelon, bold lime, and just the right amount of pucker—all made from real fruit and a few simple ingredients!
Why You’ll Love This Recipe
- Real Fruit Flavor: These gummies are bursting with the unmistakable taste of fresh, juicy watermelon for a treat that actually tastes like fruit, not chemicals.
- Customizable Tang: You control the tartness with lime juice and your preferred sweetener, so each batch can be as zingy or mellow as you like.
- Better-For-You Treat: Made with all-natural ingredients and free from artificial colors, they’re a snack you can feel good about sharing (or not—no judgment!).
- Surprisingly Simple: The process is fun and foolproof—no fancy equipment required, just a blender, a strainer, and a pot.

Ingredients You’ll Need
This ingredient list is delightfully short and approachable—each item adds its own pop or power. Using fresh watermelon, a squeeze of lime, and a hint of honey, you’ll create gummies with real presence and irresistible color.
- Watermelon (cubed): The star of the show! Choose a ripe, sweet watermelon for vibrant color and the best juicy flavor.
- Lime Juice: The secret to that sour punch—fresh-squeezed is best, but bottled works in a pinch.
- Honey: Adds a delicate, natural sweetness that plays perfectly with the bright fruit and tangy lime.
- Vanilla Extract: Just a hint brings lushness and rounds out the flavors.
- Unflavored Gelatin: This is what gives gummies their signature chew; look for standard powdered gelatin at the grocery store.
- Granulated Sweetener (optional): For that classic “sour patch” finish—monk fruit or regular sugar both work!
Variations
One of the joys of homemade Sour Watermelon Gummies is how endlessly you can riff on them. Swap flavors, sweeteners, or even shapes to suit your taste, diet, or festive mood—they’re a canvas for your candy creativity!
- Berry Burst: Substitute half the watermelon with blended strawberries or raspberries for a mixed-berry medley with extra tang.
- Vegan Twist: Use agar-agar powder in place of gelatin for a plant-based version (you’ll need to adjust quantity and method—agar sets quickly and may require extra testing).
- Citrus Sour: Amp up the acid by adding a little extra lime or even a splash of lemon juice for gummies with a real pucker factor.
- Less Sweet: If you prefer a tarter bite, simply reduce or omit the honey—it’s all up to your flavor mood.
How to Make Sour Watermelon Gummies
Step 1: Blend & Strain Watermelon
Toss the cubed watermelon into your blender or food processor and blitz until you have a smooth liquid. To capture that clear juice (for the best texture), strain the mixture through a fine mesh strainer into a saucepan—press down on the pulp with a silicone spatula to squeeze out every last drop of watermelon goodness.
Step 2: Mix in Lime, Honey, and Vanilla
Add the lime juice, honey, and vanilla to your strained watermelon juice. Whisk everything together until fully combined and marvel at that gorgeous color—so fresh!
Step 3: Bloom the Gelatin
Sprinkle the unflavored gelatin evenly across the surface of the watermelon-lime mixture. Gently stir just to moisten it, then let it sit undisturbed for two minutes. This “blooming” step helps ensure a smooth, even set—the secret to bouncy gummies.
Step 4: Heat the Mixture
Place the pan on the stove over low heat. Stir continuously for three to four minutes, letting the gelatin fully dissolve. Don’t let the mix simmer or boil—gentle heat is key. When the liquid is clear and glossy, you’re done!
Step 5: Mold and Chill
Carefully pour the hot gummy mixture into silicone molds or a glass container (use a dropper for small molds). Pop the mold into the fridge for at least 4–6 hours, or until the gummies are firm and perfectly set.
Step 6: Unmold, Toss, and Serve
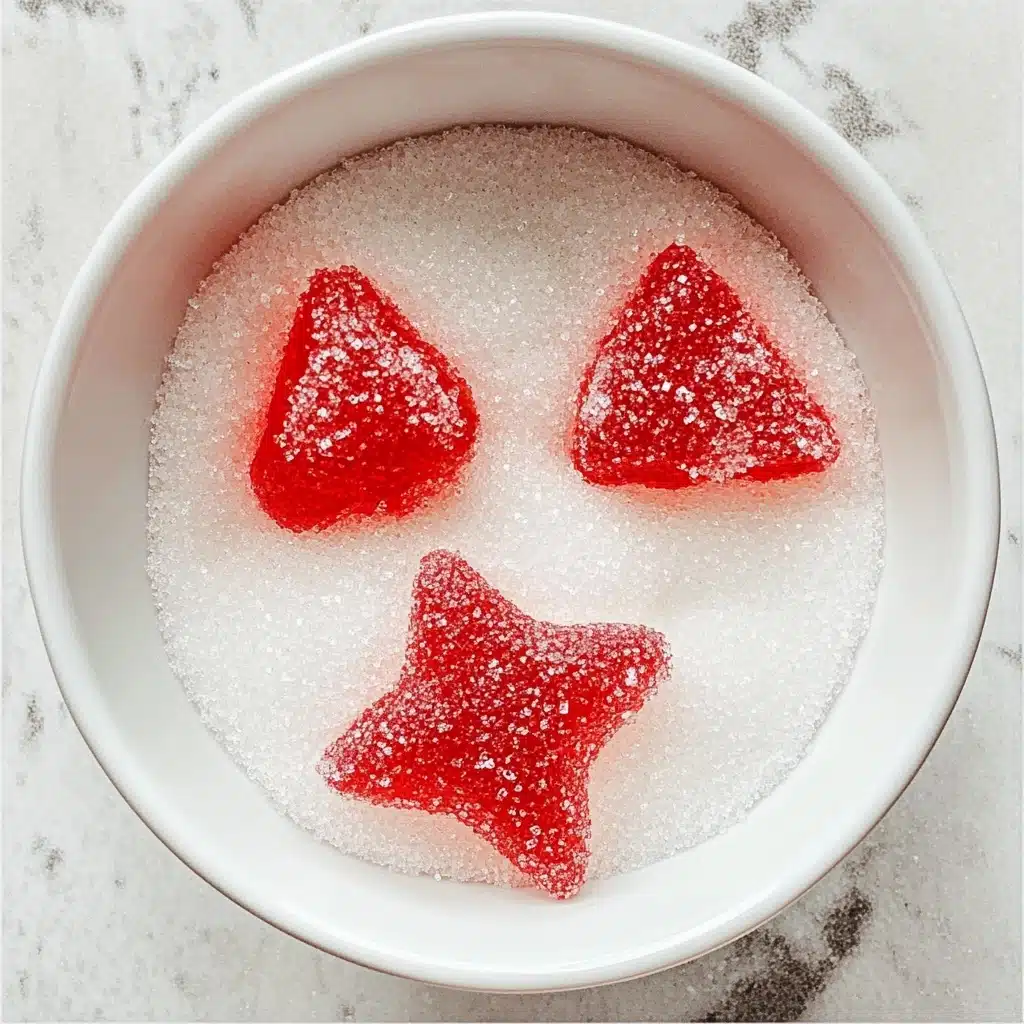
Once set, pop the gummies out of their molds (or slice into squares if you used a dish). For that iconic sour patch finish, toss them in a bowl with your granulated sweetener—or leave them uncoated for a simply fruity treat. Serve them chilled for the best chewy experience!
Pro Tips for Making Sour Watermelon Gummies
- Watermelon Selection: The sweeter and redder your watermelon, the more vibrant and flavorful your gummies will be. Avoid under-ripe melons—they won’t give you that signature candy color.
- Low & Slow Heating: Keep the heat gentle as you dissolve the gelatin—overheating can kill the setting power, leaving you with limp gummies rather than springy bites.
- Sweetener Coating Saver: If you want the sour sugar topping to really stick, let the gummies dry on a wire rack for 1–2 hours before tossing them—this prevents melting and helps the coating stay crisp.
- Mold Choices Matter: Silicone molds mean easy release and fun shapes, but don’t stress if you only have a glass dish—a quick slice into cubes brings that playful, rustic vibe.
How to Serve Sour Watermelon Gummies
Garnishes
Add a final touch with extra lime zest over your Sour Watermelon Gummies before serving for an even bigger aromatic zing. Or sprinkle with a dusting of fine citric acid mixed with sugar for an extra punchy, candy-shop finish.
Side Dishes
While these gummies are a magical treat on their own, they also shine as a fun addition to dessert boards, tucked into lunchboxes, or paired with a bowl of fruit salad for a playful contrast in texture and sweetness.
Creative Ways to Present
Try skewering the gummies onto cocktail picks for party platters, popping them into mini jars as edible gifts, or arranging them in rainbow rows on a platter for a birthday or summer picnic. Kids love using cookie cutters to create stars or hearts from slab-molded gummies, too!
Make Ahead and Storage
Storing Leftovers
Keep your Sour Watermelon Gummies stored in an airtight container in the refrigerator for up to a week. If you’ve coated them in granulated sweetener, just know that the topping may dissolve a little over time—but they’ll still taste amazing.
Freezing
While you can freeze gummies, their texture does change a bit upon thawing—they’re chewier and slightly less springy. If you want to try, freeze them in a single layer and thaw in the fridge for the best results.
Reheating
There’s no need to reheat these gummies—just enjoy them chilled straight from the fridge! If you want to refresh them, let them dry on the counter for 10–15 minutes to restore a bit of chew if they’ve softened.
FAQs
-
Can I use bottled watermelon juice instead of fresh?
You can, though the flavor may not be as vibrant, and you may want to reduce any added sugars. Fresh watermelon gives the brightest color and more natural sweetness.
-
Is there a vegetarian or vegan version of these gummies?
Absolutely! Try using agar-agar powder in place of gelatin. Just note that the setting process is a bit different: agar sets quickly at room temperature, so work fast and follow package directions for best results.
-
How do I make sure the gummies are really sour?
For extra sourness, increase the amount of lime juice or dust the finished gummies with a blend of citric acid and sweetener right before serving—that’s the classic tangy trick.
-
Can I make these gummies ahead for a party?
Yes! You can make all the gummies up to 2–3 days ahead and store them in the fridge. For the “sour sugar” finish, it’s best to toss the gummies just before serving for the perfect texture.
Final Thoughts
There’s something irresistible about homemade Sour Watermelon Gummies—from the first burst of real fruit to that addictive sour finish. I hope you’ll give this fun treat a try, play around with flavors, and make your kitchen the happiest candy shop on the block!
Print
Sour Watermelon Gummies Recipe
- Prep Time: 15 minutes
- Cook Time: 5 minutes
- Total Time: 4-6 hours
- Yield: 4 servings
- Category: Dessert
- Method: Blending, Heating, Chilling
- Cuisine: American
- Diet: Vegetarian
Description
These Sour Watermelon Gummies are a delightful treat that’s reminiscent of Sour Patch Kids but with a fresh watermelon twist. Easy to make and perfect for satisfying your sweet tooth!
Ingredients
Watermelon Juice:
- 3 cups cubed watermelon
Additional Ingredients:
- 3/4 cup lime juice
- 1 tbsp honey
- 1/2 tsp vanilla extract
- 1/4 cup gelatin
-
Optional:
- Granulated sweetener
Instructions
- Prepare Watermelon Juice: Blend the cubed watermelon until fully liquid. Strain the juice into a pot.
- Mix Ingredients: Combine lime juice, honey, and vanilla with the watermelon juice. Add gelatin and mix.
- Heat Mixture: Heat the mixture on low until fully liquid.
- Pour into Mold: Transfer the mixture into molds or a container.
- Set Gummies: Chill in the fridge for 4-6 hours until set.
- Serve: Remove from mold, toss with sweetener if desired, and serve chilled.
Notes
- The monk fruit sweetener resembles regular sugar but may melt if refrigerated for long periods.
- To help sweetener adhere, dry the gummies on a wire rack with a fan for 90 minutes to 2 hours.
Nutrition
- Serving Size: 1 serving
- Calories: 120 kcal
- Sugar: 10g
- Sodium: 15mg
- Fat: 0g
- Saturated Fat: 0g
- Unsaturated Fat: 0g
- Trans Fat: 0g
- Carbohydrates: 20g
- Fiber: 1g
- Protein: 3g
- Cholesterol: 0mg


