
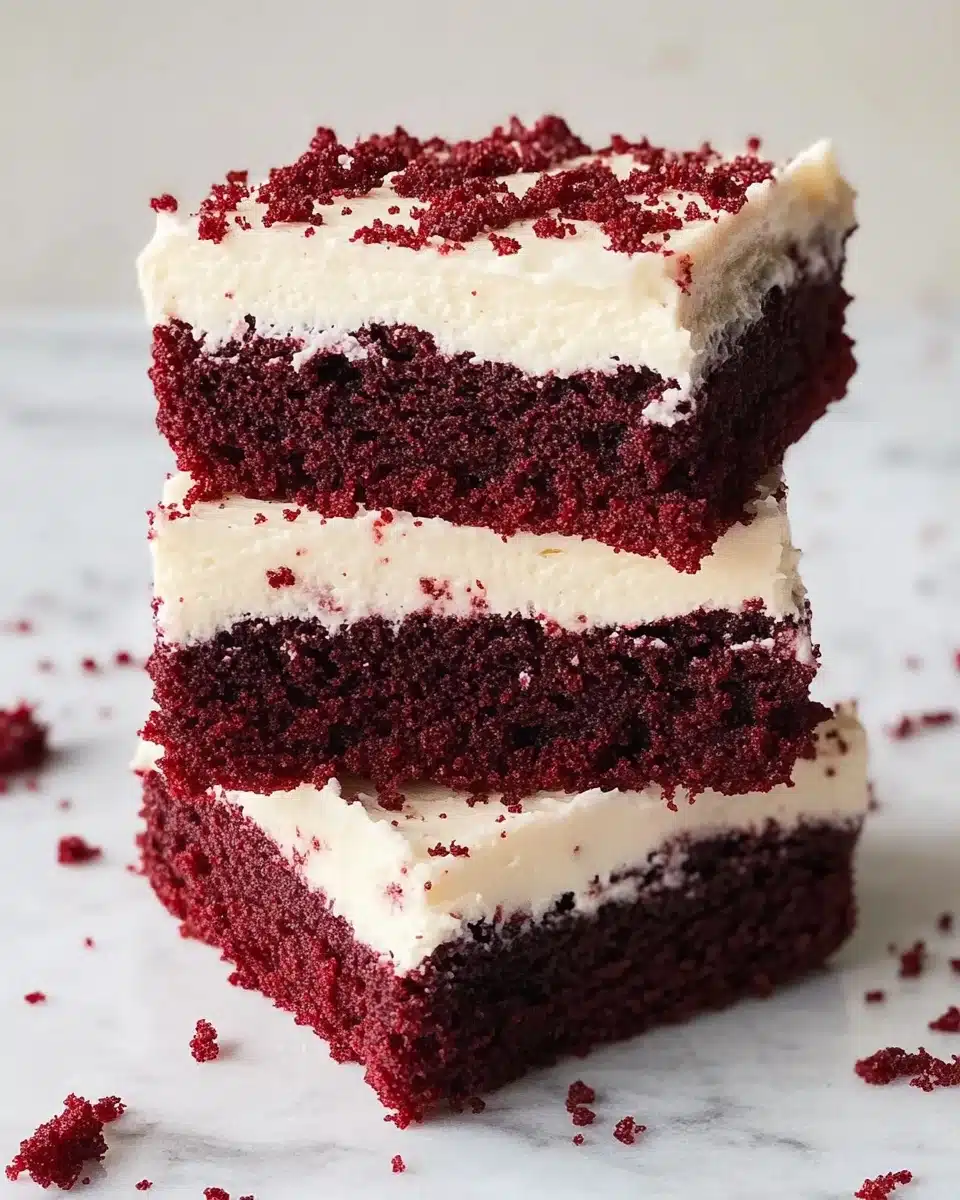
Imagine biting into a square of pure decadence—fudgy, with a hint of chocolate, a signature tang, and topped with a cloud of cream cheese frosting. That’s the magic of Red Velvet Brownies! If you love classic red velvet cake, prepare to swoon for this irresistibly rich, vibrant twist on a brownie bar—every bite delivers the perfect balance of color, texture, and flavor.
Why You’ll Love This Recipe
- Show-Stopping Color: The striking red hue makes these brownies an instant centerpiece, perfect for celebrations or just because.
- Irresistibly Fudgy Texture: A simple technique ensures every bite is perfectly chewy and moist—not cakey or dry!
- Classic Cream Cheese Frosting: The tangy, fluffy topping brings a touch of nostalgia and pairs beautifully with the cocoa-rich base.
- Easy Pantry Ingredients: No fancy chocolate required, and the batter comes together in just minutes (plus, you don’t even need a mixer for the brownies!).

Ingredients You’ll Need
What makes Red Velvet Brownies so special is how a handful of simple ingredients—most likely already in your kitchen—come together to create layers of flavor, moist crumb, and that iconic red color. Each component plays a key part in nailing the perfect brownie bite, so let’s take a closer look!
- Unsalted Butter: Melted butter makes these brownies rich, dense, and oh-so-fudgy. Use unsalted for better control over the saltiness.
- Granulated & Light Brown Sugar: The blend of sugars delivers moisture and just the right hint of caramel undertone.
- Large Eggs + Egg Yolk: The extra yolk amps up chewiness—don’t skip it! Eggs also help bind everything together.
- Vanilla Extract: Adds warmth, enhances the cocoa, and rounds out the flavors.
- Vegetable Oil: Keeps the brownies super moist for days and gives them that irresistible texture.
- Cocoa Powder: You just need a little for a fudgy base and subtle chocolate feel—natural or Dutch-process both work.
- All-purpose Flour: The backbone of the structure—be sure to measure carefully for best results.
- Vinegar: Traditional for red velvet, it helps activate the baking science and brings signature tanginess.
- Cornstarch: Gives a melt-in-your-mouth tenderness, ensuring your brownies aren’t dense blocks.
- Salt: Just a tiny bit sharpens every flavor—don’t leave it out.
- Red Food Coloring: The vivid red star of the show. Gel food coloring is best for deep color without thinning the batter.
- White Chocolate Chips (optional): Stir them in for little pockets of sweetness, or leave them out if you’re a purist.
- Cream Cheese & Unsalted Butter (frosting): Room temperature makes for ultra-smooth, creamy blending.
- Powdered Sugar: Sifts right into the frosting, creating a fluffy finish that’s never gritty.
Variations
Want to make these Red Velvet Brownies your own? This recipe is impressively flexible, so feel free to swap, add, or skip—there’s no wrong way to customize a batch to fit your cravings or dietary needs!
- Nutty Red Velvet Brownies: Stir in a handful of toasted pecans or walnuts for added crunch and earthy depth.
- Gluten-Free Option: Substitute your favorite one-to-one gluten-free flour blend for a version everyone can enjoy.
- Double Chocolate: Fold in dark chocolate chunks or chips alongside the white chocolate for even more gooey, melty bites.
- No Frosting Needed: Simply dust with powdered sugar or serve plain if you prefer them less sweet.
How to Make Red Velvet Brownies
Step 1: Prep Your Pan and Oven
Line a 9-inch square cake pan with parchment paper, leaving an overhang for easy brownie removal. Then preheat your oven to 350°F (180°C) or 160°C if using a fan-assisted oven. This little prep step sets you up for liftable, neat squares (and a quick cleanup!).
Step 2: Melt Butter and Start the Batter
Gently melt the butter in the microwave using 30-second bursts, then pour it over your granulated and brown sugars in a large mixing bowl. Whisk everything together until it’s slightly cooled and the mixture looks thick and glossy—an essential base for dense, moist brownies.
Step 3: Add Eggs, Yolks & Vanilla (Carefully!)
Add the eggs, extra yolk, and vanilla extract to the bowl. Whisk just until smooth and well incorporated. Resist the urge to beat air in—we want chewy, not cakey, Red Velvet Brownies!
Step 4: Gently Blend Oil and Cocoa
Pour in the vegetable oil and sift in the cocoa powder. Whisk gently until just combined and no dry streaks of cocoa remain. This step brings that signature cocoa flavor without sacrificing the red velvet color.
Step 5: Create the Perfect Red Tint
Spoon a few tablespoons of batter into a small bowl, add your red gel food coloring, and stir until the color is smoothly blended in. Fold this vibrant mixture back into the main bowl for a streak-free, evenly colored batter every time.
Step 6: Fold in Dry Ingredients
Swap your whisk for a spatula or wooden spoon and gently fold in the flour, cornstarch, and salt. Take care to mix only until you see no more flour—over-mixing is the enemy of tender brownies!
Step 7: Add Vinegar and White Chocolate Chips
Drizzle in the vinegar and stir to blend—it brings that classic red velvet tang. If you love pockets of sweetness, now’s the time to add in white chocolate chips.
Step 8: Bake and Cool Completely
Spread the thick batter evenly into your prepared pan and bake for 20–25 minutes. Look for moist crumbs clinging to a skewer—not raw batter or a dry, clean stick. Let brownies cool completely to set up that fudgy interior before frosting or slicing.
Step 9: Make the Cream Cheese Frosting
Using a mixer, beat room-temperature butter and cream cheese together until creamy and lump-free. Slowly add powdered sugar (to avoid sugar clouds!) then whip on high until fluffy. Beat in vanilla, spread generously over cooled brownies, and get ready for swoons.
Pro Tips for Making Red Velvet Brownies
- Gel Food Coloring is Essential: Liquid coloring dilutes your batter and can fade in the oven—gel yields dramatic red velvet every time.
- No Overmixing Allowed: As soon as the flour disappears, stop stirring—this guarantees that signature fudgy, not cakey, texture.
- Use a Kitchen Scale: Even tiny extra spoonfuls of flour can change your brownies from chewy to cake-like, so get precise for dreamy results.
- Cool Completely Before Frosting: Warm brownies will melt your cream cheese frosting; patience pays off in beautiful, tidy bars!
How to Serve Red Velvet Brownies
Garnishes
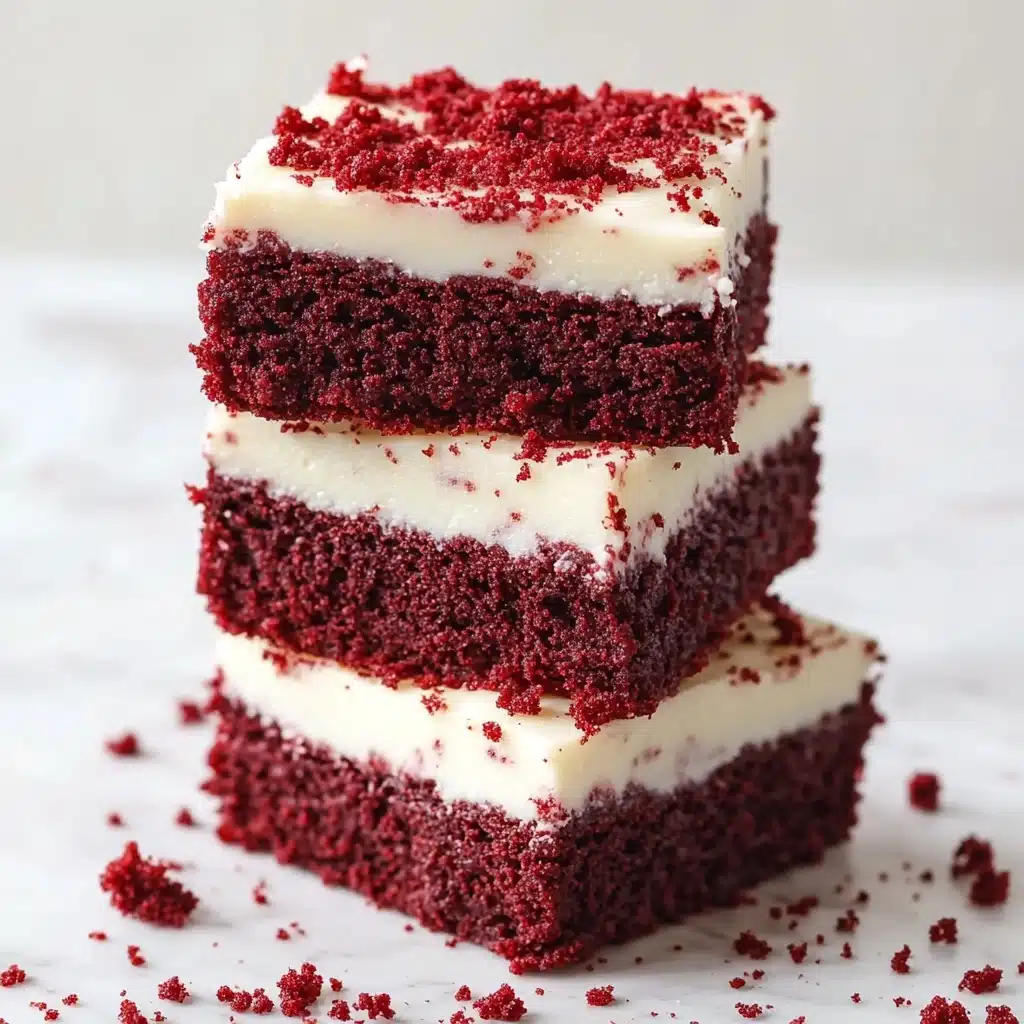
The beauty of Red Velvet Brownies is that even a simple sprinkle can be gorgeous! Try scattered red velvet crumbs, white chocolate shavings, or even a trio of fresh raspberries for a pop of color. A dusting of cocoa powder or a drizzle of dark chocolate would be lovely for a more grown-up finish.
Side Dishes
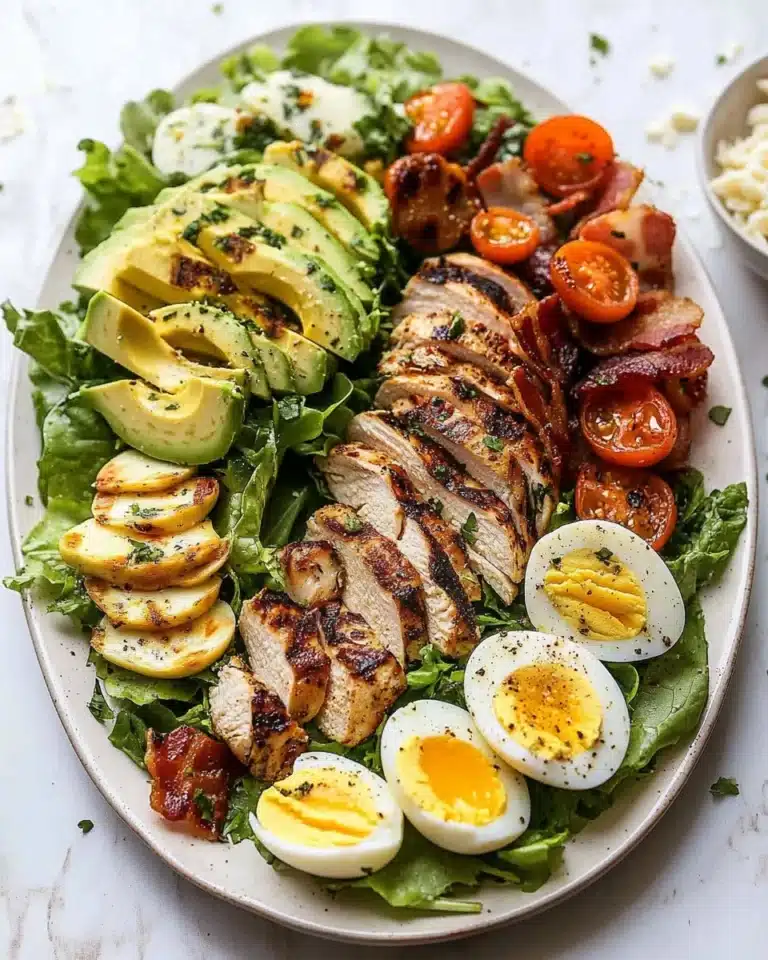
Pair your brownies with a glass of cold milk for nostalgia or serve alongside a scoop of vanilla bean ice cream for dreamy dessert vibes. For a festive brunch, offer bite-sized squares with a platter of fresh berries and strong coffee—the perfect sweet treat to round out the spread.
Creative Ways to Present
Cut Red Velvet Brownies into hearts for Valentine’s Day, stack them tall for a celebratory tower, or slice into tiny cubes and skewer with fruit for a chic dessert platter. For potlucks, wrap each brownie individually with parchment and tie with baker’s twine—a guaranteed crowd-pleaser and giftable bite!
Make Ahead and Storage
Storing Leftovers
Once frosted and cut, keep Red Velvet Brownies in an airtight container in the fridge; they’ll stay moist and flavorful for up to 4 days. If you prefer them at room temperature, let them sit out for about 20 minutes before serving for the best texture.
Freezing
Freeze brownie squares (unfrosted or frosted) by wrapping them tightly and storing in a freezer-safe bag for up to two months. When you’re ready for a treat, thaw overnight in the fridge, then bring to room temp before enjoying.
Reheating
Red Velvet Brownies aren’t typically served warm, but if you adore a gooier bite, zap an unfrosted square in the microwave for 8–10 seconds. For frosted brownies, let them sit at room temperature or enjoy chilled straight from the fridge.
FAQs
-
Can I make Red Velvet Brownies without food coloring?
Absolutely! The classic red hue is traditional, but if you’d rather skip coloring, simply leave it out for cocoa brownies with the same delicious tang and texture.
-
What makes these brownies fudgy instead of cakey?
The combination of extra egg yolk, precise flour measurement, and gentle mixing creates a dense, chewy crumb rather than a fluffy, cake-like texture. Avoid overbeating the batter and overbaking for best results!
-
Can I double the recipe for a crowd?
Yes! Double all ingredients and bake in a 9×13-inch pan. Watch the baking time—larger pans often need a few more minutes, so test for doneness with a toothpick.
-
Is there a way to lighten up the frosting?
For a lighter topping, beat together whipped cream cheese and a touch of Greek yogurt with vanilla and less powdered sugar. It won’t be quite as rich, but it’ll still pair beautifully with Red Velvet Brownies!
Final Thoughts
Whether you’re baking for a party or spoiling yourself with an everyday treat, these Red Velvet Brownies are a recipe that invites oohs, aahs, and outright swooning. I can’t wait for you to try them and share the joy—don’t forget to save yourself an extra piece (or two)! Happy baking, friend.
Print
Red Velvet Brownies Recipe
- Prep Time: 10 minutes
- Cook Time: 25 minutes
- Total Time: 35 minutes
- Yield: 16 brownies
- Category: Dessert
- Method: Baking
- Cuisine: American
- Diet: Vegetarian
Description
Indulge in these decadent Red Velvet Brownies with a luscious cream cheese frosting. These rich, chewy treats are perfect for any occasion!
Ingredients
For the Red Velvet Brownies
- 3/4 stick Unsalted Butter (85g)
- 1 cup Granulated Sugar (200g)
- 1/4 cup Light Brown Sugar (55g)
- 3 Large Eggs
- 1 large Egg Yolk
- 1 teaspoon Vanilla Extract
- 1/3 cup Vegetable Oil (72g / 80ml)
- 1/4 cup Cocoa Powder (25g)
- 3/4 cup All-purpose Flour (90g)
- 1 tablespoon Vinegar
- 1 tablespoon Cornstarch
- 1/4 teaspoon Salt
- 1/2 teaspoon Red Food Coloring
- 3/4 cup White Chocolate Chips (optional)
For the Cream Cheese Frosting
- 4 oz Cream Cheese (114g)
- 3/4 stick Unsalted Butter (85g)
- 4 cups Powdered Sugar (480g)
- 1 teaspoon Vanilla Extract
Instructions
- Make the Red Velvet Brownies – Line a 9-inch square cake pan with parchment paper and preheat the oven to 350°F / 180°C (160°C fan assisted). Melt butter, mix sugars with butter, add eggs and vanilla, incorporate oil and cocoa powder, mix in red food coloring, fold in dry ingredients, add vinegar, and bake for 20-25 mins.
- Make the Cream Cheese Frosting – Beat butter and cream cheese, add powdered sugar, beat until fluffy, add vanilla, and spread over brownies.
Notes
- I recommend weighing ingredients for accuracy.
Nutrition
- Serving Size: 1 brownie
- Calories: 280
- Sugar: 28g
- Sodium: 120mg
- Fat: 14g
- Saturated Fat: 8g
- Unsaturated Fat: 4g
- Trans Fat: 0g
- Carbohydrates: 36g
- Fiber: 1g
- Protein: 2g
- Cholesterol: 60mg

