
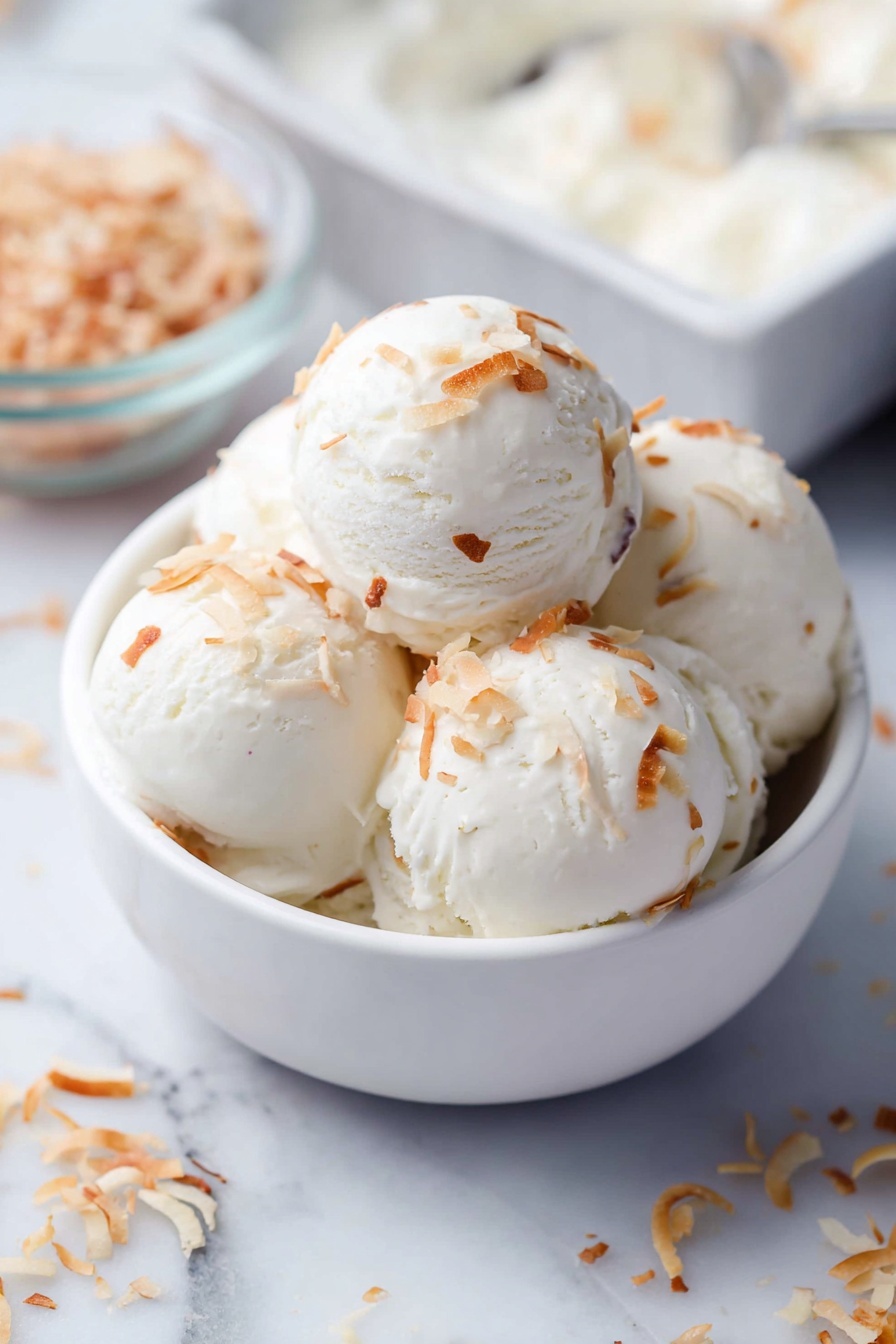
If you’re craving a rich, creamy treat that’s both tropical and indulgent, I’ve got just the thing for you! This Homemade Coconut Ice Cream Recipe is a fan-freaking-tastic way to enjoy the cool sweetness of coconut in every bite. Whether you’re a coconut lover like me or just searching for a luscious dairy-based dessert, you’ll find this recipe super easy, rewarding, and downright delicious. Stick with me—I’ll walk you through every step and share some of my best tips!
Why You’ll Love This Recipe
- Creamy Texture: Whipping the cream to stiff peaks gives this ice cream a wonderfully light and fluffy texture you won’t want to miss.
- Intense Coconut Flavor: Using full-fat coconut milk and a touch of coconut extract really amps up that tropical vibe.
- No Ice Cream Machine Needed: You can whip this up at home with just basic kitchen tools, no fancy equipment required.
- Family Favorite: Every time I make this, my family literally goes crazy for it—perfect for celebrations or a simple summer treat.

Ingredients You’ll Need
Each ingredient here plays a special role in building that classic coconut ice cream flavor and texture. I love that they’re all easy to find, so you can throw this together without a last-minute grocery run!
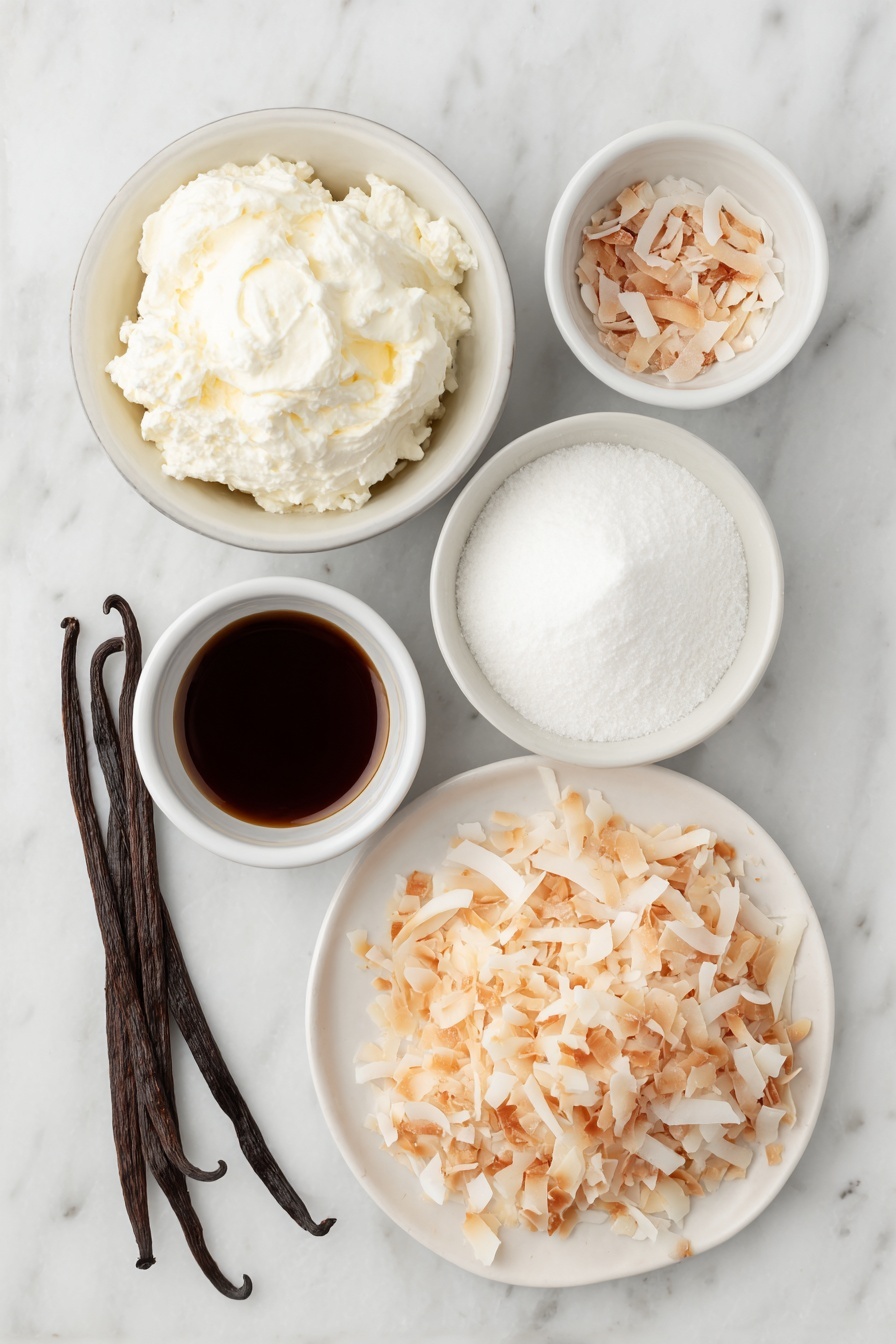
- Heavy Cream/Whipping Cream: Using cold, high-quality cream helps create stiff peaks that give the ice cream its luscious texture.
- Powdered Sugar: This dissolves quickly and blends smoothly into the cream, avoiding any graininess.
- Vanilla Extract: A touch of vanilla brightens the coconut flavor without overpowering it.
- Coconut Milk (Full Fat): Essential for that rich coconut taste and creamy consistency—be sure to use full fat for best results.
- Sweetened Condensed Milk: Adds sweetness and silky smoothness, acting as a natural stabilizer.
- Coconut Extract (Optional): For those who love a punchier coconut flavor, this little addition can elevate the taste beautifully.
- Dry Shredded Coconut or Coconut Flakes (Toasted & Unsweetened): Toasting adds a nutty crunch that contrasts perfectly with the ice cream’s creaminess.
Variations
I love playing around with this Homemade Coconut Ice Cream Recipe to suit different moods and tastes. Whether you want it dairy-free or loaded with mix-ins, it’s super versatile—so make it your own!
- Dairy-Free Version: Swap the heavy cream for full-fat coconut cream to make this vegan-friendly—my dairy-intolerant friends can’t get enough of it!
- Extra Coconut Crunch: Add chopped toasted macadamia nuts or almonds along with the shredded coconut for a delightful texture contrast.
- Tropical Mix-Ins: I sometimes throw in small chunks of fresh pineapple or mango – it really takes the flavor tropical and fresh.
- Less Sweet: If you prefer it less sweet, reduce the powdered sugar slightly—just keep the condensed milk amount to maintain creaminess.
How to Make Homemade Coconut Ice Cream Recipe
Step 1: Whip the Cream to Perfection
Start by chilling your mixing bowl and beaters—cold tools help the cream whip better. Pour in the cold whipping cream, powdered sugar, and vanilla extract into the bowl. Using a hand blender or stand mixer, whip until the cream doubles in volume and forms stiff peaks—this is key for keeping your ice cream light and airy. If you overwhip, it can turn grainy, so keep an eye on it!
Step 2: Mix the Coconut Base
In a separate bowl, combine your cold full-fat coconut milk, sweetened condensed milk, and coconut extract (if using). Stir them together until everything is well incorporated and smooth. This rich mixture forms the coconut-y heart of your ice cream.
Step 3: Fold and Aerate
Take a couple of scoops of the whipped cream and gently fold it into the coconut mixture—this step lightens it up by incorporating air. Then, slowly fold the coconut mixture back into the whipped cream in two batches. Be gentle and gradual, using a spatula with a folding motion to keep the air intact. This is what gives your ice cream that dreamy fluffy texture instead of a dense block.
Step 4: Add Toasted Coconut and Freeze
Stir in your toasted shredded coconut gently, then pour the whole mixture into a rectangular shallow container. Press a piece of cling wrap or baking paper on the surface to prevent ice crystals from forming. Cover tightly with a lid, foil, or more cling wrap and pop it into the freezer. I like to freeze it overnight—at least 8 hours—to get it properly set and scoopable.
Step 5: Serve and Enjoy!
Before scooping, remove the cling wrap on top and let the ice cream rest at room temperature for about 5 minutes—this softens it just enough to make scooping a joy. Trust me, this little wait makes a big difference!
Pro Tips for Making Homemade Coconut Ice Cream Recipe
- Cold Ingredients: Keep all your liquid ingredients chilled to help the ice cream freeze faster and achieve a smoother texture.
- Gentle Folding: I learned this the hard way—folding gently preserves the air bubbles and prevents your ice cream from turning dense.
- Toasting Coconut: Toast your shredded coconut lightly until golden brown. This adds a crunch and a toasty flavor that balances the sweetness perfectly.
- Coconut Extract Use: Use sparingly—a little goes a long way. Start with 1/8 teaspoon and adjust to taste to avoid overpowering your ice cream.
How to Serve Homemade Coconut Ice Cream Recipe
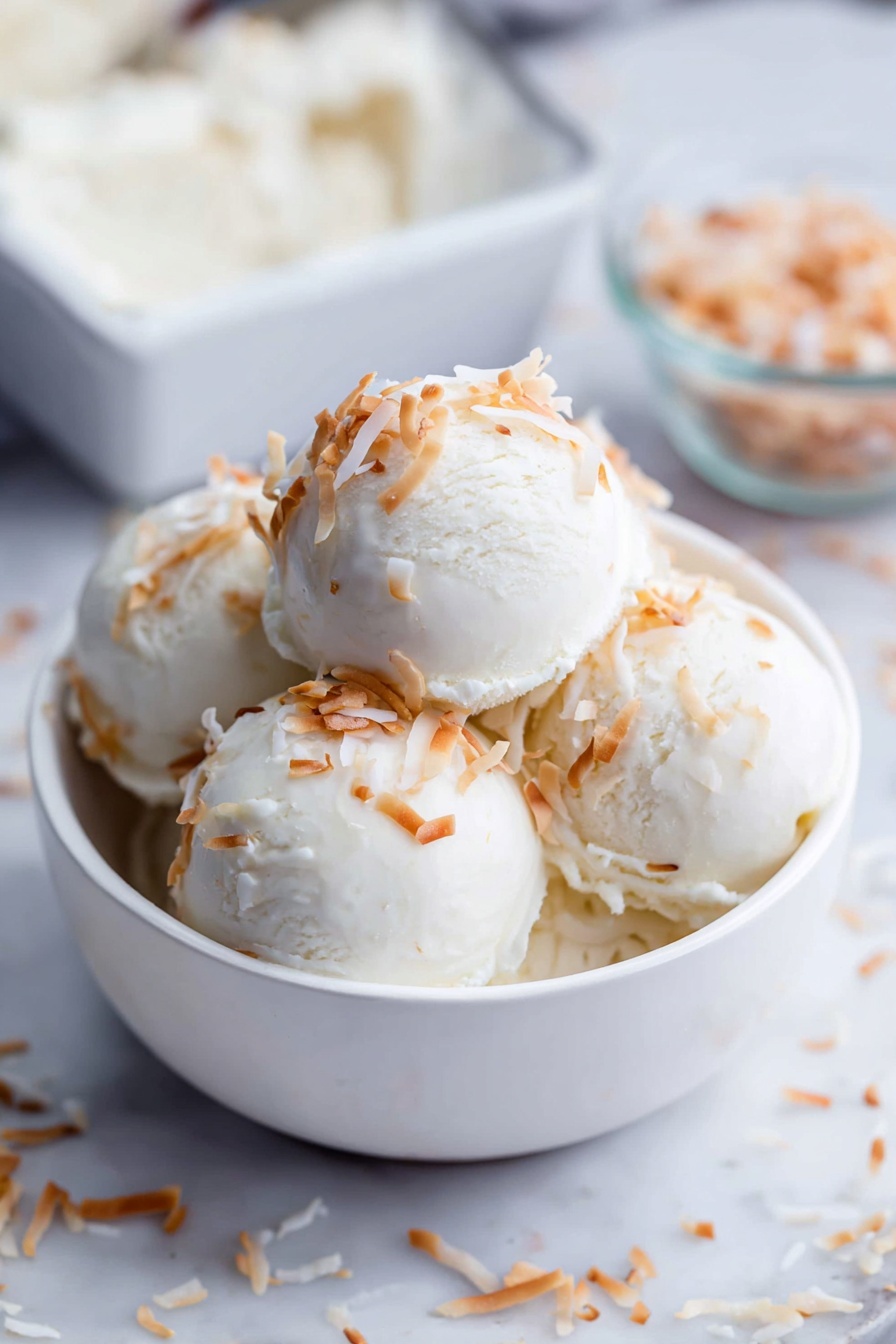
Garnishes
I usually sprinkle extra toasted coconut flakes on top for added crunch and a pop of color. Fresh mint leaves or a drizzle of honey work beautifully too. Sometimes I add a few bits of chopped tropical fruits like mango or pineapple to bring out the coconut’s sunny vibe even more.
Side Dishes
This ice cream pairs wonderfully with warm desserts like mango sticky rice or grilled pineapple. It’s also amazing alongside crispy homemade waffles or buttery shortbread cookies for a textural contrast you’ll love.
Creative Ways to Present
For special occasions, I like scooping the ice cream into hollowed-out coconut shells or beautiful glass parfait cups layered with tropical fruits and toasted nuts. This always impresses guests and adds an island-inspired flair to the table.
Make Ahead and Storage
Storing Leftovers
I keep leftovers in an airtight container in the freezer. The key is to press a piece of plastic wrap right on the surface before sealing to prevent ice crystals from forming. Just scoop a few minutes after removing from the freezer to keep it soft and scoopable.
Freezing
This recipe freezes really well thanks to the combination of whipping cream and condensed milk, so you can make it ahead of time easily. I usually let it freeze overnight for best consistency—freshly made and frozen, it tastes just like a scoop from the ice cream shop!
Reheating
Reheating ice cream isn’t necessary, but you can let it sit at room temperature for 5-10 minutes before scooping to soften. Avoid microwaving as it can ruin the texture and cause separation.
FAQs
-
Can I make this Homemade Coconut Ice Cream Recipe without an ice cream maker?
Absolutely! This recipe is designed to be made without an ice cream machine. The whipping cream and folding technique create a creamy texture, and freezing it in a shallow container helps it freeze evenly.
-
What’s the best type of coconut milk to use?
Go for full-fat canned coconut milk, preferably without additives or stabilizers. This ensures a rich, creamy texture and authentic coconut taste, perfect for homemade ice cream.
-
Can I substitute sweetened condensed milk with something else?
Sweetened condensed milk adds both sweetness and creaminess. If dairy is an issue, you can try coconut condensed milk alternatives available at specialty stores, but it might slightly alter the taste and texture.
-
How long can I store this ice cream?
Stored properly in an airtight container, this homemade coconut ice cream will stay fresh for up to 2 weeks in the freezer. Always press cling wrap on the surface to avoid freezer burn.
-
How do I get the best texture when serving?
Let the ice cream sit at room temperature for about 5 minutes before scooping. This softens it just enough without melting, giving you smooth, scoopable servings every time.
Final Thoughts
I absolutely love how this Homemade Coconut Ice Cream Recipe brings the taste of the tropics right into my kitchen. It’s simple, creamy, and makes for a refreshing treat that my family always raves about. If you try it even once, I’m pretty sure it’ll become a go-to summer dessert for you, too. So go ahead, whip it up, and enjoy a scoop (or two) of tropical bliss with no regrets!
Print
Homemade Coconut Ice Cream Recipe
- Prep Time: 15 minutes
- Cook Time: 0 minutes
- Total Time: 12 hours 15 minutes
- Yield: 10 servings
- Category: Dessert
- Method: No-Cook
- Cuisine: International
- Diet: Vegetarian
Description
This homemade coconut ice cream is a rich and creamy frozen dessert made without an ice cream maker. It combines whipped heavy cream, full-fat coconut milk, sweetened condensed milk, and toasted shredded coconut for a delightful tropical treat. Lightly flavored with vanilla and optional coconut extract, this no-churn ice cream is perfect for coconut lovers looking for a smooth and airy texture.
Ingredients
Ice Cream Base
- 1.5 cups Heavy Cream / Whipping Cream (cold)
- ¾ cup Powdered Sugar
- 1 teaspoon Vanilla Extract
- 2 cups Coconut Milk (full fat, cold)
- ½ can Sweetened Condensed Milk (400 grams can, cold)
- ⅛ teaspoon Coconut Extract (optional)
Topping
- ½ cup Dry Shredded Coconut / Coconut Flakes (toasted & unsweetened)
Instructions
- Whip the Cream: In a large bowl, combine the cold heavy cream, powdered sugar, and vanilla extract. Using a hand blender, whip the mixture until it doubles in volume and stiff peaks form, indicating it is properly aerated.
- Mix Coconut Base: In a separate bowl, mix the cold coconut milk, sweetened condensed milk, and optional coconut extract thoroughly to create a smooth coconut-flavored base.
- Aerate Mixture: Take a couple of scoops of the whipped cream and gently fold it into the coconut milk mixture. This step is crucial to aerate the coconut base and prepare it for full incorporation.
- Combine Mixtures: Pour the coconut milk mixture into the whipped cream in two batches. Use a spatula to fold the mixtures together carefully, maintaining as much air as possible to keep the ice cream light and fluffy.
- Transfer and Cover: Pour the fully combined mixture into a rectangular shallow container. Place a piece of cling wrap or baking paper on the surface of the mixture and press gently to smooth it out.
- Freeze: Cover the container tightly with a lid, cling wrap, or foil. Freeze the mixture for at least 8 hours, preferably overnight, to allow it to set properly.
- Serve: Before serving, remove the plastic wrap from the surface. Let the ice cream rest at room temperature for about 5 minutes to soften slightly, then scoop and serve. Optionally, sprinkle toasted shredded coconut on top for added texture and flavor.
Notes
- Keeping all liquid ingredients cold helps the ice cream freeze faster and achieves a better texture.
- Coconut extract is potent; start with 1/8 teaspoon and increase up to 1/4 teaspoon depending on the desired intensity of coconut flavor.
- Toasted shredded coconut adds a nice crunchy texture and enhances the coconut aroma.
- This recipe requires no ice cream maker and relies on hand whipping and folding for aeration.
Nutrition
- Serving Size: 1/10th of recipe (~120 grams)
- Calories: 310
- Sugar: 25g
- Sodium: 50mg
- Fat: 25g
- Saturated Fat: 22g
- Unsaturated Fat: 2g
- Trans Fat: 0g
- Carbohydrates: 18g
- Fiber: 1g
- Protein: 3g
- Cholesterol: 80mg


