
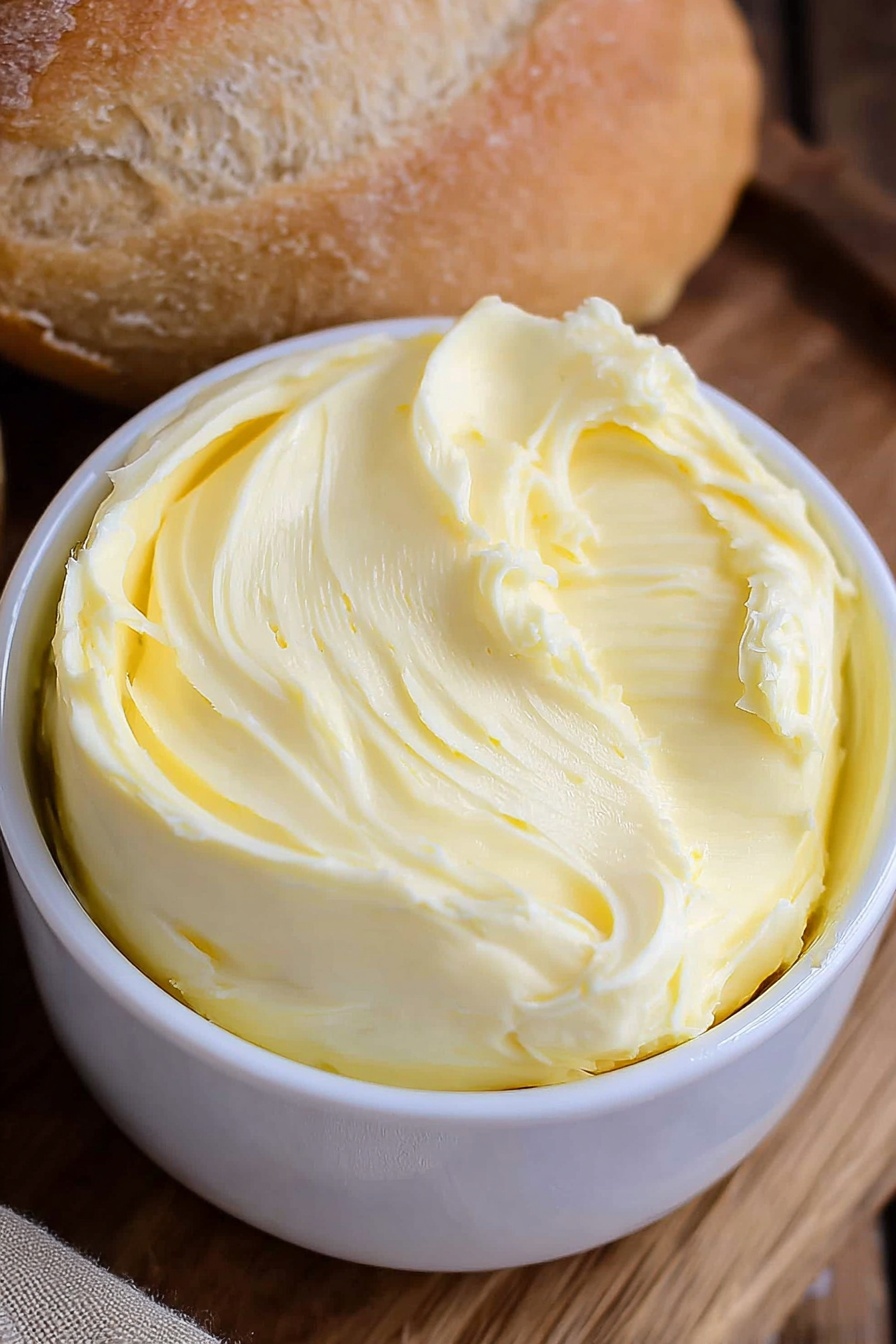
If you’ve ever wondered how delightful it is to make your own butter from scratch, I’m so excited to share this Homemade Butter Recipe with you! I absolutely love how fresh and creamy it turns out, and once you try it, you’ll find that nothing beats the flavor of butter made right in your kitchen. Whether you’re a newbie or a seasoned cook, this recipe is straightforward and guaranteed to impress.
Why You’ll Love This Recipe
- Simplicity: Only a few ingredients and simple kitchen tools needed to make real butter at home.
- Freshness: You control the salt and texture, meaning fresher, tastier butter every time.
- Satisfaction: There’s something deeply rewarding about turning cream into butter with your own hands.
- Versatility: Use it for cooking, baking, or just spreading on your favorite bread.

Ingredients You’ll Need
These ingredients work beautifully together because heavy cream is the star here — it’s rich and full-fat, essential for that luscious butter texture. If you like a bit of salt, it rounds out the flavor perfectly. When you shop, make sure to get the freshest heavy whipping cream you can find for best results.
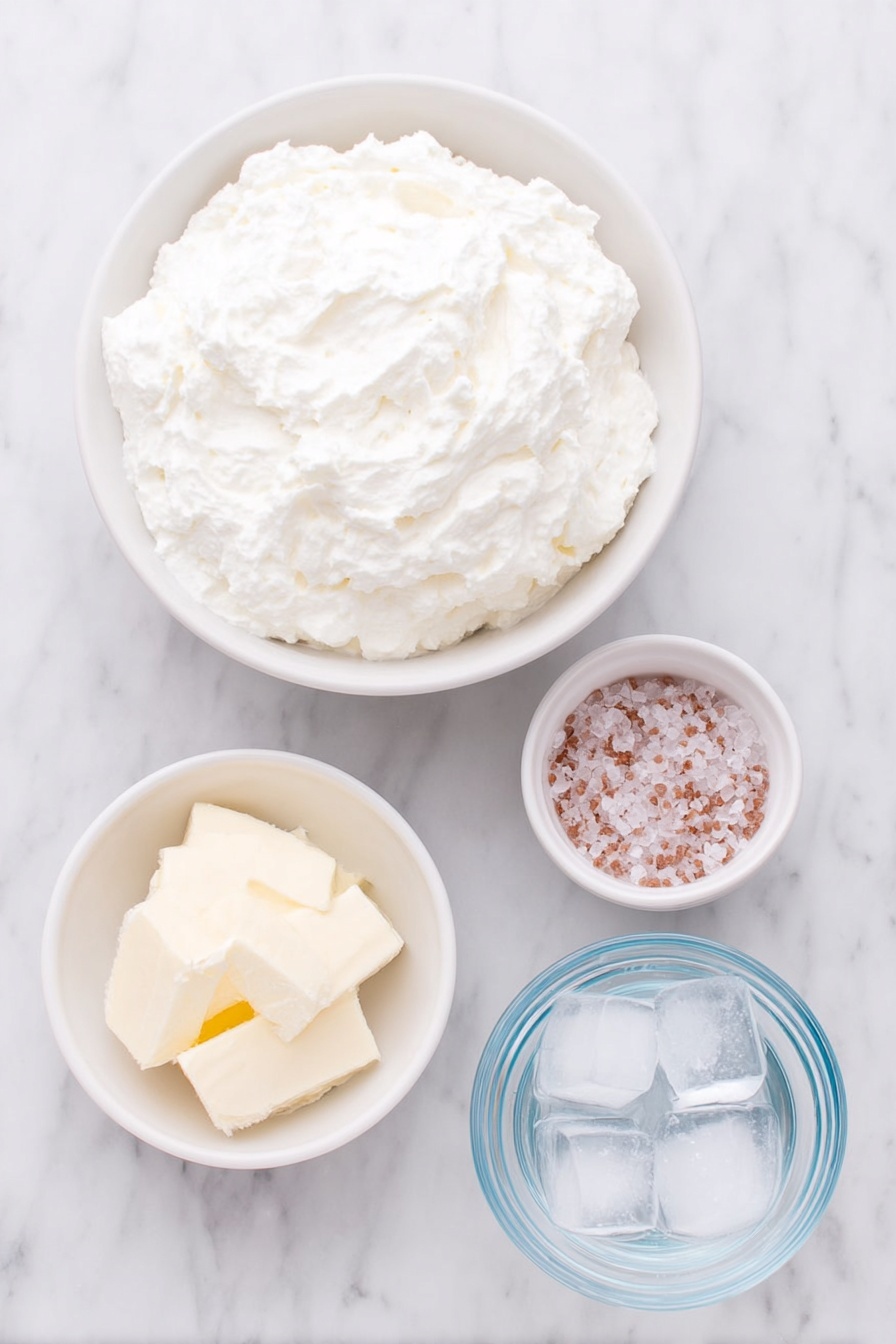
- Heavy whipping cream: Fresh, high-quality cream makes the biggest difference, so opt for organic if possible.
- Sea salt (optional): Adds just a hint of savory flavor if you prefer salted butter — adjust to your taste.
- Ice water: Used to rinse the butter and help remove leftover buttermilk for longer freshness.
Variations
I love playing around with this Homemade Butter Recipe depending on the occasion. The best part? You can make the butter truly your own by adding different flavors or adjusting the saltiness. Don’t hesitate to experiment; that’s how I discovered some of my favorite tweaks.
- Herb-Infused Butter: I sometimes add freshly chopped rosemary or thyme right after whipping for a fresh garden twist — perfect for roasting veggies.
- Honey Butter: Swirling in a little honey after the butter forms creates a sweet spread that my family goes crazy for at breakfast.
- Unsalted Version: Leaving out the salt lets you control seasoning down the line — great for baking or if you prefer truly natural butter.
How to Make Homemade Butter Recipe
Step 1: Whip That Cream to Perfection
Start by pouring your heavy whipping cream into a stand mixer bowl fitted with a whisk attachment. If you don’t have a stand mixer, don’t worry — a hand mixer works just fine. Whisk the cream on medium speed. You’ll notice it first getting fluffy and forming stiff peaks, much like whipped cream. This can take around 5-7 minutes, but don’t rush it! Once those peaks show up, add your optional sea salt, then keep whisking a bit longer. Soon enough, you’ll see the cream separate into solid clumps (the butter) and a milky liquid (that’s your buttermilk). This took me a few tries to spot at first, but trust me—once you see the butter clinging to the whisk, you’re golden!
Step 2: Strain and Rinse the Butter
After the butter separates, get a mesh sieve ready over a small bowl for catching the buttermilk. Pour the entire mixture through the sieve, letting the liquid drain out while the butter stays put. You’ll want to gently press or squeeze the butter to get rid of as much liquid as possible — I find using clean hands is easiest. Then, dip the butter into a bowl of ice cold water and squeeze again. This step helps wash away leftover buttermilk, keeping your butter fresher longer. Repeat dipping and squeezing until the water runs clear.
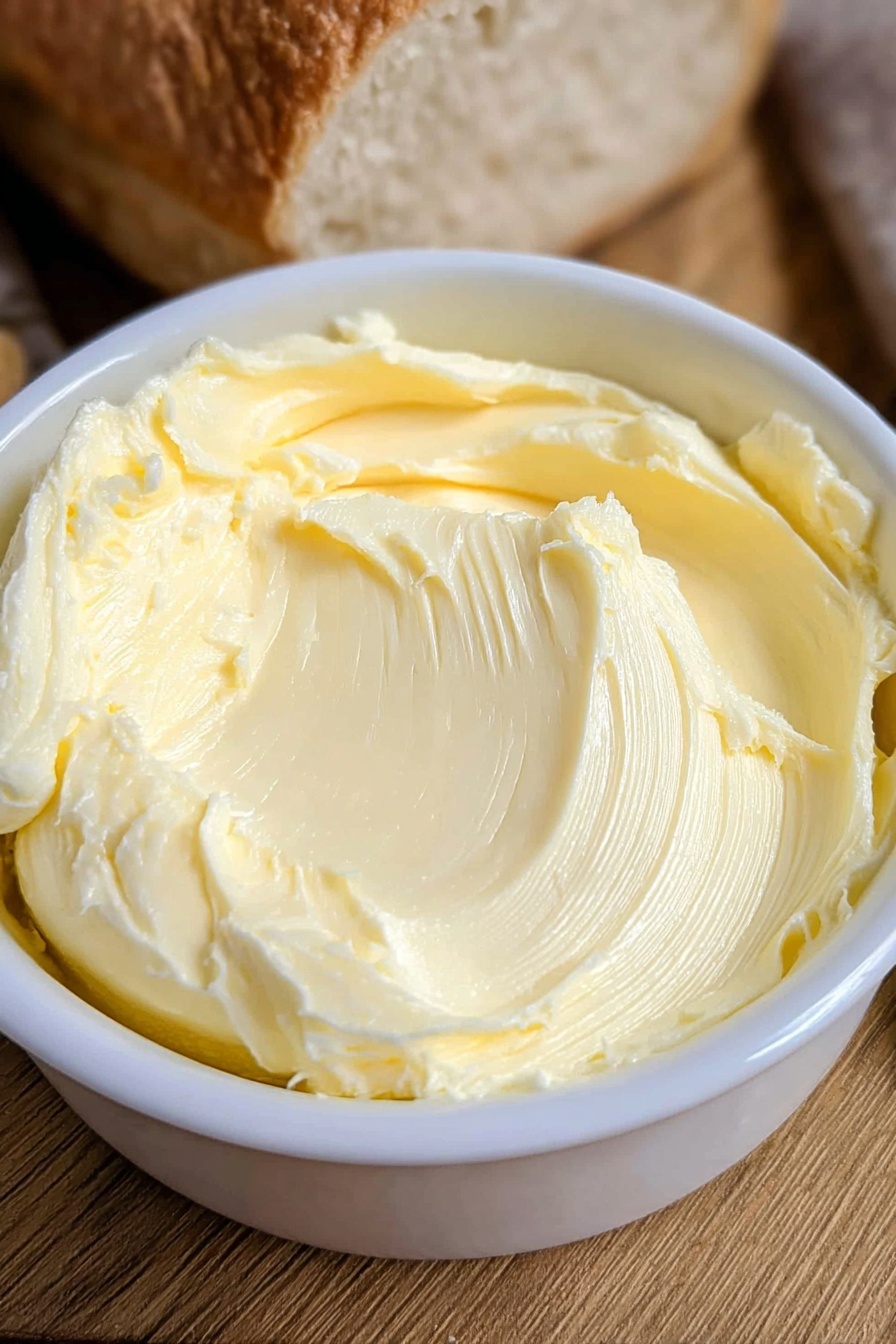
Step 3: Shape and Store Your Butter
Once rinsed, place your butter on parchment or wax paper. I like forming it into a log because it’s easy to slice later, just like store-bought sticks. Wrap it tight, and if you want to get fancy, tie the ends with kitchen twine or a cute string. For extra protection, place the wrapped butter inside a resealable plastic bag—it keeps things fresh and prevents odors from sneaking in. Pop it into the fridge to firm up before serving. Trust me, when you pull it out after chilling, it looks and tastes like butter you’d pay a premium for!
Pro Tips for Making Homemade Butter Recipe
- Use Cold Cream: I learned the hard way that starting with cold heavy cream helps the process move smoothly and keeps the butter fresh.
- Don’t Overwhip: Stop whisking as soon as the butter and buttermilk separate — beyond that you risk a grainy texture.
- Save Your Buttermilk: The liquid leftover is perfect for baking pancakes or biscuits, so don’t toss it!
- Patience Pays Off: If the butter feels too soft, just chill it longer instead of rushing to store it.
How to Serve Homemade Butter Recipe
Garnishes
When I serve this butter, I often top it with a sprinkle of flaky sea salt or a dash of fresh herbs like chives or thyme. It adds a rustic, gourmet touch that guests always comment on. For a sweet twist, a drizzle of honey or a pinch of cinnamon can turn it into an irresistible spread for morning toast.
Side Dishes
This homemade butter pairs beautifully with warm, crusty bread, fresh biscuits, and even roasted vegetables. I especially love alongside freshly steamed corn on the cob or dolloped over fluffy mashed potatoes — it elevates everything!
Creative Ways to Present
For special occasions, I shape the butter into small balls or festive shapes using cookie cutters, then chill them in pretty dishes. You can also mix in edible flowers or herbs into the butter before chilling for a stunning centerpiece at brunch or dinner parties.
Make Ahead and Storage
Storing Leftovers
After making this Homemade Butter Recipe, I store it wrapped tightly in the fridge where it stays fresh for up to three weeks. Keeping the butter sealed well prevents it from absorbing fridge odors. I always like to label the date so I remember when I made it.
Freezing
Freezing homemade butter works like a charm—I slice it into sticks and freeze them wrapped individually for easy portioning. When properly wrapped, it can last up to 9 months in the freezer without losing flavor or texture.
Reheating
I usually let frozen butter thaw overnight in the fridge. If you’re in a hurry, you can soften it by leaving it at room temperature for a short while. Just avoid microwaving, as that can melt it unevenly and affect the texture.
FAQs
-
Can I use reduced-fat cream for homemade butter?
Great question! For the best results, you’ll want to stick with heavy whipping cream that has at least 36-40% fat content. Reduced-fat creams typically don’t separate into butter the same way, so it’s best to avoid them for this recipe.
-
How long does homemade butter keep in the fridge?
When stored properly wrapped and chilled, homemade butter will keep fresh for up to 3 weeks. Just make sure to keep it sealed to prevent it from absorbing other flavors or odors.
-
What can I do with the leftover buttermilk?
Don’t throw it away! That buttermilk is perfect for making pancakes, biscuits, or salad dressings. It adds a lovely tang and helps baked goods stay tender.
-
Can I make butter without a stand mixer?
Absolutely! You can use a hand mixer with a whisk attachment or even shake cream in a tightly sealed jar, though it may take longer and require more arm work. The key is to keep whipping until you see the butter separate.
-
Should I add salt to my homemade butter?
Salt is completely optional—adding it enhances flavor and acts as a preservative, but you can skip it if you prefer unsalted butter or want to customize seasoning later.
Final Thoughts
This Homemade Butter Recipe quickly became a staple in my kitchen because it’s easy, satisfying, and just downright delicious. I love knowing exactly what’s inside my butter and how fresh it is, plus it’s a fun project you can share with your family or friends. Once you try making butter yourself, I promise you’ll appreciate store-bought butter a little less — and homemade a lot more. So grab that cream, get whisking, and enjoy the fantastic flavor and texture that only homemade butter can provide!
Print
Homemade Butter Recipe
- Prep Time: 25 minutes
- Cook Time: 0 minutes
- Total Time: 25 minutes
- Yield: 32 servings (1 lb butter or 4 sticks)
- Category: Condiment
- Method: Blending
- Cuisine: American
Description
Learn how to make fresh homemade butter using just heavy whipping cream and optional sea salt. This simple recipe walks you through whipping the cream until it separates into butter and buttermilk, then rinsing and shaping your own creamy butter at home. Perfect for adding a homemade touch to your cooking and baking.
Ingredients
Ingredients
- 4 cups heavy whipping cream
- 2 tsp sea salt (optional, for salted butter)
- Ice water (for rinsing butter)
Instructions
- Prepare stand mixer: Fit a stand mixer with a whisk attachment or prepare a mixing bowl with a hand mixer and whisk attachment. Ensure the bowl is large enough as the cream will expand when whipped.
- Whip heavy cream: Pour the heavy cream into the bowl and whisk on medium speed for about 10 minutes. Watch for stiff peaks to form. If using salt, add it once stiff peaks appear and continue whisking until the butter and buttermilk separate—the butter will cling to the whisk and the buttermilk will be liquid in the bowl.
- Strain: Place a mesh sieve over a smaller mixing bowl. Pour the contents of the mixing bowl into the sieve to separate the butter from the buttermilk. The buttermilk will collect in the bowl below.
- Squeeze excess liquid: Gather the butter and press out as much liquid as possible. Dip the butter into ice-cold water, then squeeze again to rinse and remove additional buttermilk.
- Shape and store butter: Place the butter on parchment or wax paper and shape it into a log or rectangular block similar to commercial butter sticks. Wrap tightly and secure with kitchen twine, then optionally place in a resealable plastic bag for extra protection.
- Chill: Refrigerate the wrapped butter to firm it up. Homemade butter will keep fresh in the refrigerator for up to 3 weeks or can be frozen for up to 9 months.
Notes
- This recipe yields approximately 1 pound of butter, equivalent to about 4 sticks or 32 tablespoons.
- Only use heavy whipping cream for best results; substitutions will not work properly.
- Adding sea salt is optional depending on your taste preference.
- Butter can be sliced into sticks individually for easy use.
- Use cold ice water to rinse the butter thoroughly, which improves shelf life and taste.
Nutrition
- Serving Size: 1 tablespoon
- Calories: 102
- Sugar: 0.1 g
- Sodium: 90 mg
- Fat: 11.5 g
- Saturated Fat: 7 g
- Unsaturated Fat: 4 g
- Trans Fat: 0.5 g
- Carbohydrates: 0 g
- Fiber: 0 g
- Protein: 0.1 g
- Cholesterol: 31 mg


