
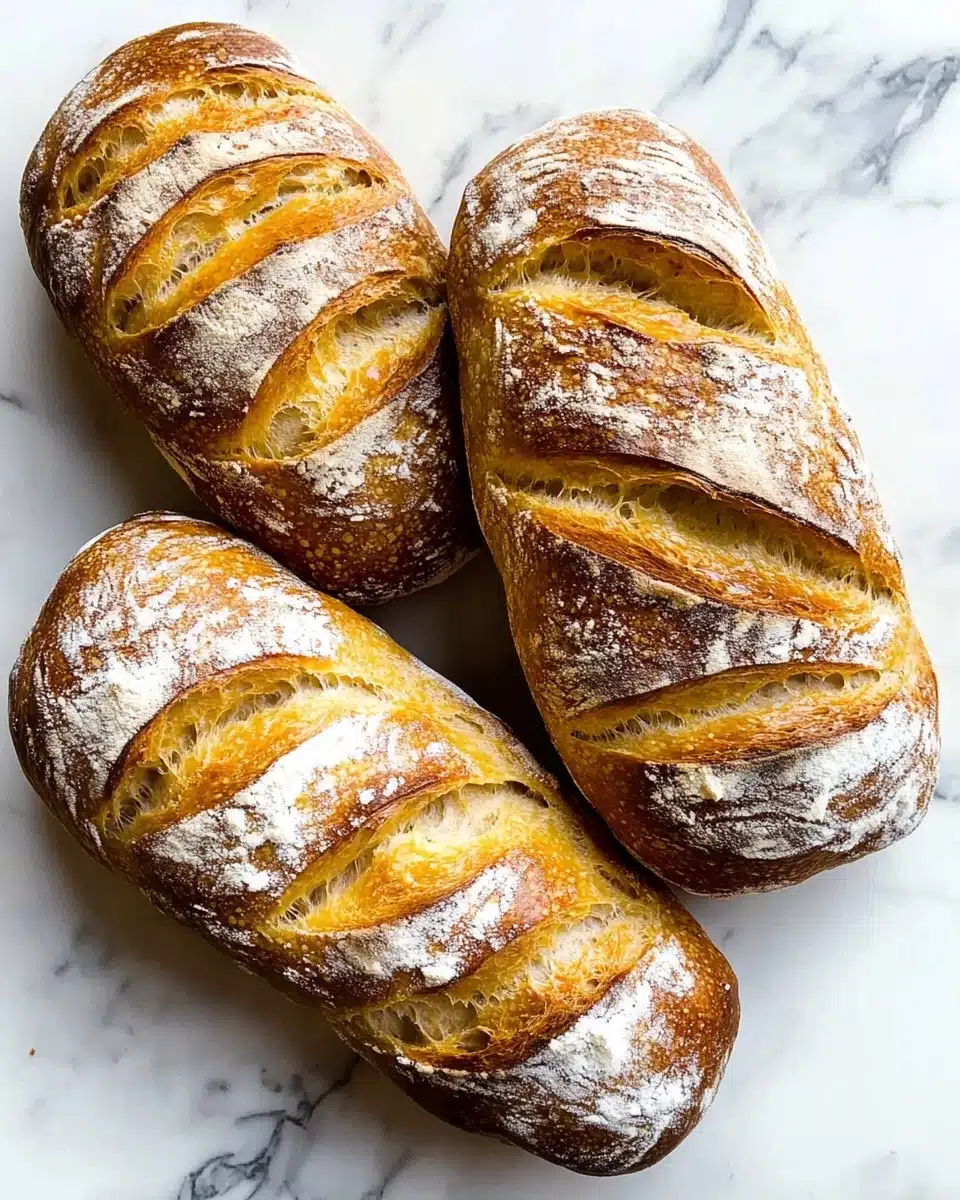
There’s just something magical about pulling a steaming-hot loaf out of your own oven, especially when it’s this easy Homemade Artisan Bread Recipe. With a crisp golden crust and a chewy, flavorful crumb, it’s the kind of bread that makes even the simplest meal feel like a special occasion—and yes, you absolutely can master it at home!
Why You’ll Love This Recipe
- Bakery-Worthy Results at Home: Get that chewy, craggy-edged crust and airy interior you adore from bakery loaves—no fancy equipment required.
- Hands-Off Simplicity: Minimal effort and zero kneading—just mix, wait, shape, and bake for artisan bread that’s nearly foolproof.
- Customizable for Every Occasion: This dough is a blank canvas, perfect for favorite add-ins such as fresh herbs, cheese, or a swirl of roasted garlic.
- Make Ahead Magic: The dough keeps beautifully in the fridge for up to three days, so you can enjoy fresh-baked bread whenever the craving strikes.

Ingredients You’ll Need
You only need a handful of humble ingredients for this Homemade Artisan Bread Recipe, but each one plays a starring role in creating that irresistible flavor, texture, and golden crust. Here’s what you should know before you begin:
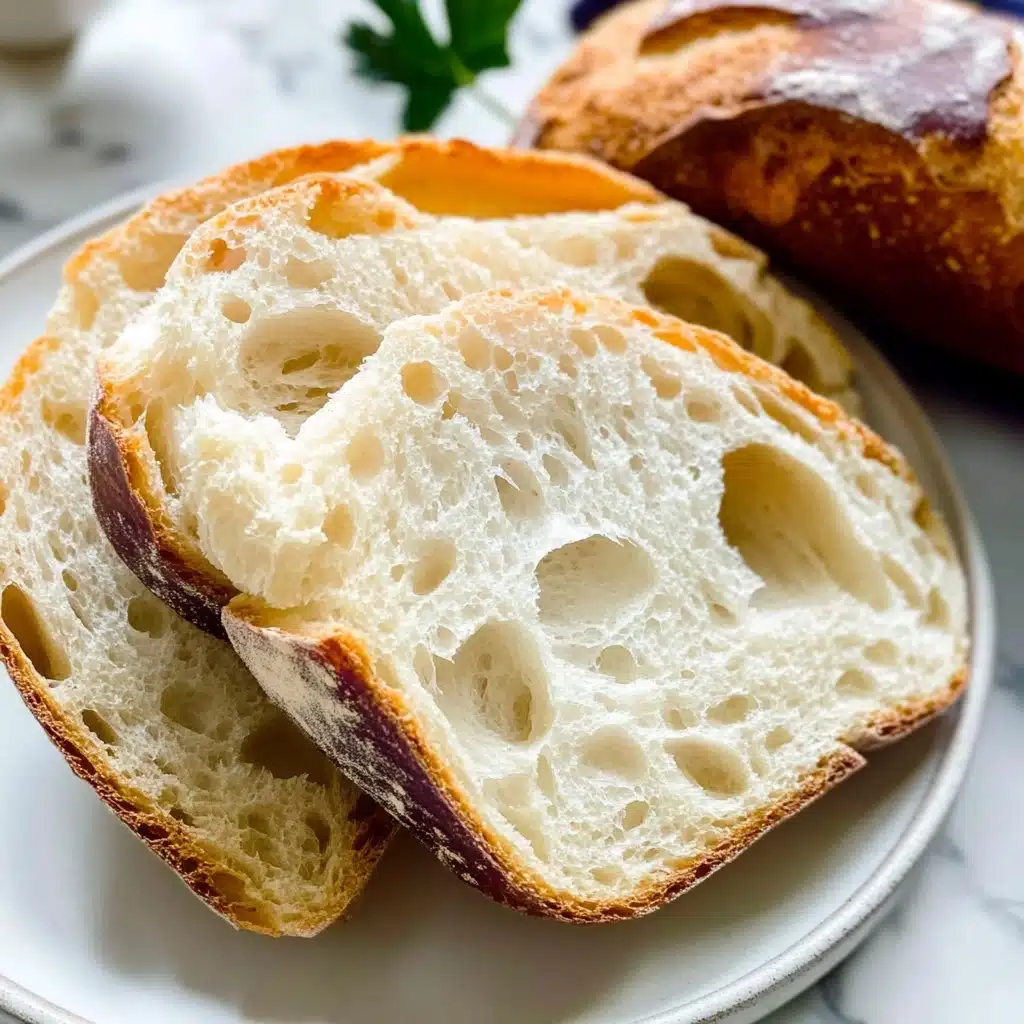
- Bread Flour: Gives the bread its signature chewy texture and hearty structure—perfect for getting those dreamy air pockets inside. If you only have all-purpose flour, it’ll still work, but bread flour is truly the secret to that signature artisan bite.
- Instant Yeast: Powers the rise and lets you skip the hassle of proofing. Instant (or rapid rise) yeast brings loft and flavor, and makes things move right along.
- Coarse Salt: Don’t be tempted to skip or skimp! Coarse sea salt seasons the dough and helps develop flavor complexity. Fine salt works in a pinch, but slightly less is more here.
- Water: Simple, sure, but the temp matters—room temperature water (around 70°F/21°C) encourages yeast activity and keeps the dough manageable for its long, slow rise.
- Cornmeal (optional): Adds a rustic crunch and helps the loaves release easily from your pan. Highly recommended if you want that classic artisan bottom crust!
Variations
What I adore about the Homemade Artisan Bread Recipe is just how easily you can riff on it! Feel free to experiment with add-ins or swap a few basics to suit your tastes or pantry staples—no stress, just delicious results every single time.
- Herb & Garlic Loaf: Mix in chopped rosemary, thyme, or basil, and a sprinkle of minced garlic for big, savory flavors that turn every slice into a meal.
- Cheese & Jalapeño: Toss in your favorite shredded cheese and a few slices of fresh or pickled jalapeño for a bread that’s perfect with chili or soup.
- Cranberry Walnut: Add a handful of dried cranberries and chopped nuts for a sweet, nutty twist that’s dreamy with creamy cheese.
- Whole Wheat Blend: Replace half of the bread flour with whole wheat for an earthier, denser loaf (just know it’ll be a bit more rustic in texture!).
How to Make Homemade Artisan Bread Recipe
Step 1: Mix the Dough
Start by whisking together your bread flour, instant yeast, and coarse salt right in a big, roomy bowl. Pour in the water and gently stir everything together with a wooden spoon or silicone spatula. Don’t worry if it looks scrappy and sticky—that’s exactly what you want! Once all the flour is moistened, use your hands if needed to form a rough, shaggy ball.
Step 2: Let It Rise
Cover your dough tightly (plastic wrap or foil both work great) and let it sit on your counter at room temperature. In about 2–3 hours, it will puff up, nearly double in size, and become bubbly—this is the yeast magic in action. The dough will be sticky and loose; that’s perfect!
Step 3: Cold Ferment for Flavor (Optional but Amazing!)
Want the deepest, most complex flavor and chewiest crumb? After the first rise, pop your covered bowl in the fridge for at least 12 hours (and up to 3 days). This slow cold ferment develops a beautiful, subtle tang. Even 18 hours makes a big difference—but remember, if you’re short on time, you can skip straight to shaping!
Step 4: Shape the Loaves
Generously dust a nonstick baking sheet with flour and/or cornmeal. Tip your cold dough out onto a floured surface, then slice it in half using a sharp knife or bench scraper. Gently shape each portion into a rough log about 9×3 inches and place them a few inches apart on your prepared baking sheet. Dust your hands with flour as needed—it’s meant to be a bit sticky! Let them rest, loosely covered, for about 45 minutes as you preheat your oven.
Step 5: Score and Steam
Use a bread lame, super-sharp knife, or even kitchen shears to score the tops of the loaves with three quick slashes—these help control how your bread expands in the oven. For extra-crispy crust, add a pan of hot water to the oven to create steam (see tips below!).
Step 6: Bake to Golden Perfection
Slide your loaves into a piping-hot 475°F (246°C) oven and bake for 20–25 minutes. Don’t be afraid of that deep color—golden brown means maximum flavor! When the loaves sound hollow when tapped, or reach about 195°F (90°C) inside, they’re done. Let them cool for at least 20 minutes (torture, I know!) before slicing.
Pro Tips for Making Homemade Artisan Bread Recipe
- Steam for Ultimate Crust: Place a metal (not glass!) pan on the lowest oven rack and pour boiling water in just as the bread goes in to create irresistible bakery-style crust.
- Handle Dough Gently: Don’t overwork or knead—handling the dough with floured hands keeps those gorgeous air pockets intact for an open crumb.
- Cold Rest Is Key: Even a brief overnight chill in the fridge dramatically deepens flavor and improves texture—try not to skip this step if you have the time!
- Use a Thermometer for Peace of Mind: If you’re nervous about doneness, aim for an internal temp of 195°F (90°C) for perfectly baked bread every time.
How to Serve Homemade Artisan Bread Recipe
Garnishes
For a beautiful finishing touch, rub the warm crust with a peeled clove of garlic, drizzle with a little extra-virgin olive oil, or sprinkle with flaky sea salt or finely chopped fresh herbs. These tiny extras elevate each bite—and make your loaf look downright irresistible on the table!
Side Dishes
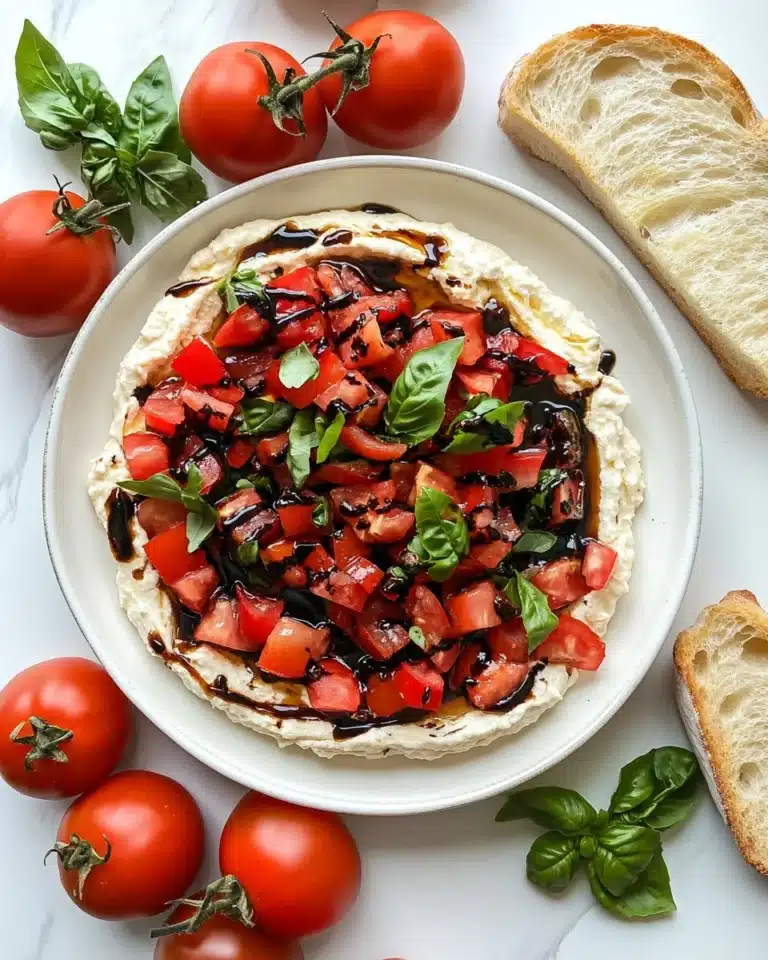
This loaf is a natural best friend for hearty soups and stews, a classic tomato salad, or a cozy platter of cheese, cured meats, and olives. It shines alongside a simple butter—especially when the bread is still just a little warm from the oven.
Creative Ways to Present
Slice your bread into rustic wedges served on a wooden board, turn it into channel-cut croutons for salad, or let your bread be the base for showstopping crostini with all your favorite seasonal toppings. You can even bake the dough as a round boule for a dramatic, centerpiece-worthy loaf!
Make Ahead and Storage
Storing Leftovers
To keep your bread crust crispy and the inside soft, store it loosely covered at room temperature for up to five days. Avoid airtight containers—they’ll soften that perfect crust. If you prefer, refrigerate for up to a week, though the flavor is best within the first few days.
Freezing
This Homemade Artisan Bread Recipe freezes brilliantly! Cool the loaf completely, wrap tightly in plastic, and pop into a freezer-safe bag for up to three months. You can freeze the shaped dough after its first rise, too—just thaw overnight in the fridge before proceeding.
Reheating
To revive that bakery-fresh taste, splash your bread lightly with water and bake at 350°F (177°C) for 8–10 minutes. The oven brings back a crisp crust and billowy crumb—you’d never guess it wasn’t just baked today!
FAQs
-
Can I make this Homemade Artisan Bread Recipe without a stand mixer?
Absolutely! No mixer is needed at all. This recipe is designed for hand-mixing with a spoon or spatula—just give it a good stir until there’s no more dry flour, and you’re set.
-
What’s the best way to get a super crispy crust at home?
Steam is your best friend! Add a pan of boiling water to the oven when baking, or lightly mist the bread just before it goes in. This traps steam, creating a gorgeous, crackly crust on your loaves.
-
Can I use all-purpose flour if I don’t have bread flour?
Yes, all-purpose flour will work in a pinch—your bread will still be delicious, though the crumb will be slightly less chewy than the true artisan style you get with bread flour.
-
How long can I store the dough in the fridge before baking?
You can keep the dough chilled for up to three days. In fact, a longer cold ferment makes for even more complex flavor! If the dough looks a bit deflated by day three, that’s normal—just move ahead with shaping and baking.
Final Thoughts
If you’ve ever dreamed of filling your home with the smell of fresh bread, this Homemade Artisan Bread Recipe is your sign to go for it. It’s truly as rewarding as it is simple—no fuss, just pure, homemade comfort on demand. Gather your ingredients, trust the process, and enjoy every golden, crusty slice—you absolutely deserve it!
Print
Homemade Artisan Bread Recipe
- Prep Time: 4 hours
- Cook Time: 25 minutes
- Total Time: 4 hours, 25 minutes
- Yield: 2 8-inch loaves
- Category: Bread
- Method: Baking
- Cuisine: American
- Diet: Vegetarian
Description
Enjoy the simple pleasure of baking your own homemade artisan bread with this easy-to-follow recipe. Each bite of this crusty yet soft bread is a delightful experience in every way.
Ingredients
- 3 and 1/4 cups bread flour (about 430g), plus more for hands and pan
- 2 teaspoons instant yeast
- 2 teaspoons coarse salt
- 1 and 1/2 cups water, close to room temperature
- Optional: cornmeal for dusting pan
Dough:
Instructions
- Prepare Dough: Mix flour, yeast, and salt in a bowl. Add water and mix until combined. Shape into a ball.
- Rise: Cover and let rise at room temperature for 2-3 hours or refrigerate for up to 3 days.
- Shape & Rest: Divide dough, shape into loaves, and let rest for 45 minutes.
- Bake: Preheat oven. Score loaves, bake at 475°F for 20-25 minutes.
- Cool & Serve: Cool before slicing and serving.
Notes
- You can freeze the dough or baked bread for future use.
- Experiment with different flavors by adding herbs, cheese, or nuts to the dough.
- Refer to the Baking with Yeast Guide for yeast-related questions.
Nutrition
- Serving Size: 1 slice
- Calories: 150
- Sugar: 1g
- Sodium: 300mg
- Fat: 1g
- Saturated Fat: 0g
- Unsaturated Fat: 1g
- Trans Fat: 0g
- Carbohydrates: 30g
- Fiber: 2g
- Protein: 5g
- Cholesterol: 0mg


