
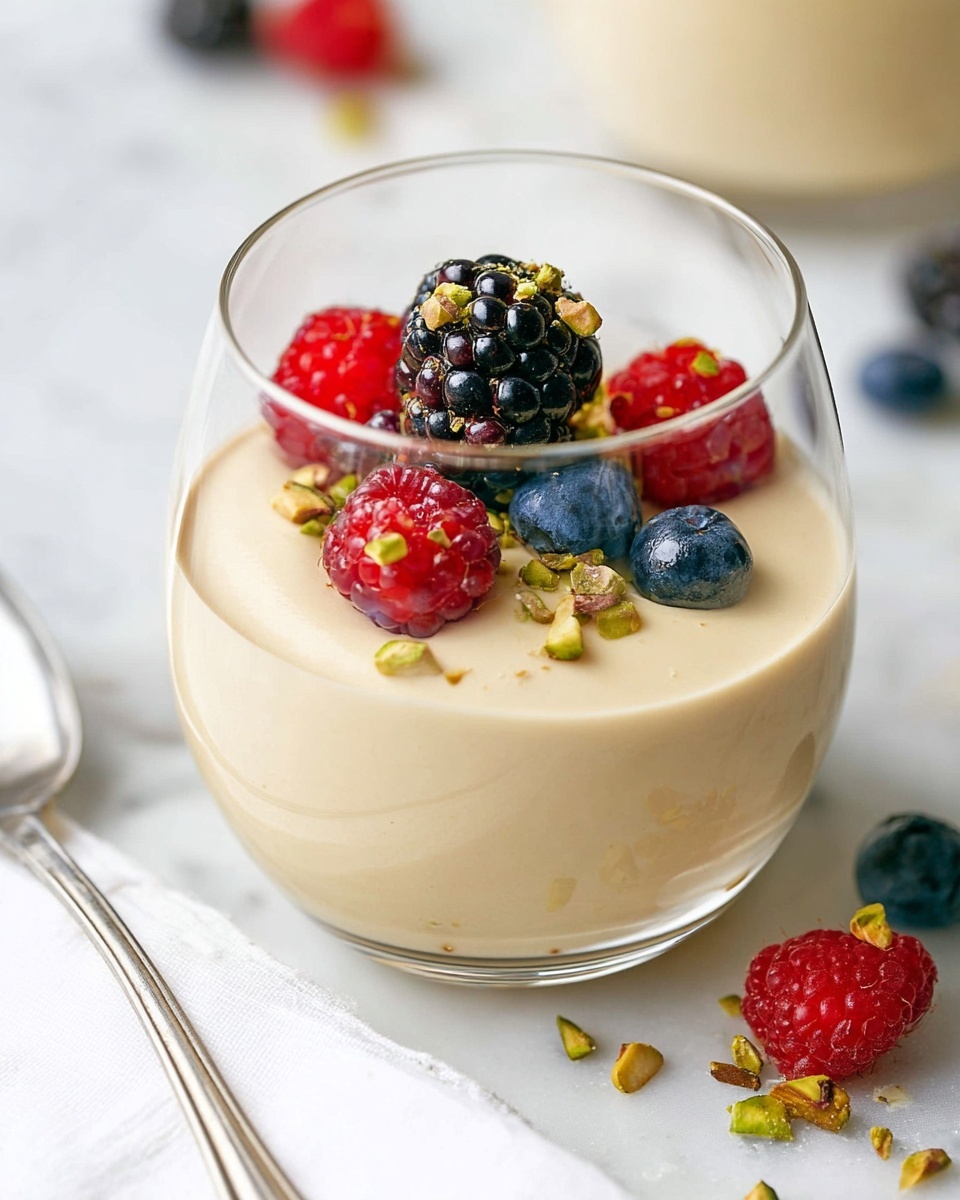
If you’re craving a creamy, dreamy dessert that’s straightforward enough for a weeknight but elegant enough for guests, this Easy Vanilla Custard Recipe is about to become your new best friend. I absolutely love how this custard turns out silky smooth every single time—no fancy equipment needed, just a few simple ingredients you probably already have. Stick around, because I’m sharing all my tips to help you nail this classic treat without any stress!
Why You’ll Love This Recipe
- Super simple ingredients: You don’t need a pantry full of specialty items—just basics you probably already have.
- Quick and easy process: From heating to serving, you can have luscious vanilla custard in under 30 minutes active time.
- Versatile serving options: Warm, chilled, topped with fruit, or drizzled over cake—it’s a crowd-pleaser in any form.
- Failsafe technique: I’ll share how to temper the eggs perfectly to avoid curdling, so you get silky smooth custard every time.

Ingredients You’ll Need
Every ingredient in this Easy Vanilla Custard Recipe plays a key role, balancing richness and flavor while helping the custard thicken just right. I always recommend using fresh, high-quality eggs and real vanilla extract for the best results—you’ll taste the difference.
- Heavy cream: This adds that luscious creaminess, making the custard rich but smooth.
- Whole milk: Balances the heavy cream so the custard isn’t too heavy or too dense.
- Large egg yolks: The eggs provide structure and silkiness; use fresh yolks for the best texture.
- Honey: A natural sweetener that blends smoothly and adds subtle depth—feel free to swap with granulated sugar if you prefer.
- Cornstarch, arrowroot powder, or tapioca flour: These thickeners help keep the custard perfectly set without getting grainy.
- Vanilla extract: The star flavor! Real vanilla extract makes a big difference compared to artificial versions.
Variations
This recipe is a fantastic base, and I love how easy it is to tailor to your taste or dietary needs. You can make it yours by experimenting with flavors or swapping ingredients when needed.
- Using maple syrup instead of honey: I swapped in maple syrup once, and it gave the custard a lovely autumnal hint that my family couldn’t get enough of.
- Dairy-free version: Try coconut milk and coconut cream to keep it creamy but vegan-friendly—I’ve had great results using arrowroot powder to thicken it.
- Adding spices: A sprinkle of cinnamon or nutmeg is a cozy way to add warmth without overpowering the vanilla flavor.
- Serving with fresh berries: I often top mine with seasonal berries to add brightness and a little tartness that pairs beautifully with the custard.
How to Make Easy Vanilla Custard Recipe
Step 1: Warm the Cream and Milk Gently
Start by combining the heavy cream and whole milk in a medium saucepan over medium heat. I find whisking occasionally helps distribute the heat evenly. Watch closely—you want it to just start simmering with little bubbles forming around the edges, not a roaring boil. As soon as you see those bubbles, take it off the heat to prevent scalding. This gentle warming is key because it preps the dairy for a smooth custard without any curdling.
Step 2: Temper the Egg Yolk Mixture Carefully
While the cream mixture is heating, whisk together your egg yolks, honey, vanilla extract, and cornstarch (or arrowroot/tapioca) in a separate bowl until smooth. Here’s a trick I discovered: slowly pour about half of your hot cream mix into the eggs while whisking constantly. This gradual warming, or tempering, keeps the yolks from scrambling. I learned the hard way that pouring too quickly results in curds, so take your time—your custard will thank you.
Step 3: Thicken the Custard on the Stove
Return the tempered egg mixture to the saucepan with the remaining warm cream and place it back on medium-low heat. Stir continuously—don’t stop—until the custard thickens slightly, usually 1 to 3 minutes. You’ll notice it coats the back of your spoon lightly. Remember, it will continue to thicken as it cools, so don’t overcook. This stage is all about patience and attention, and once you nail it, the texture is pure velvet.
Step 4: Serve Warm or Chill for Later
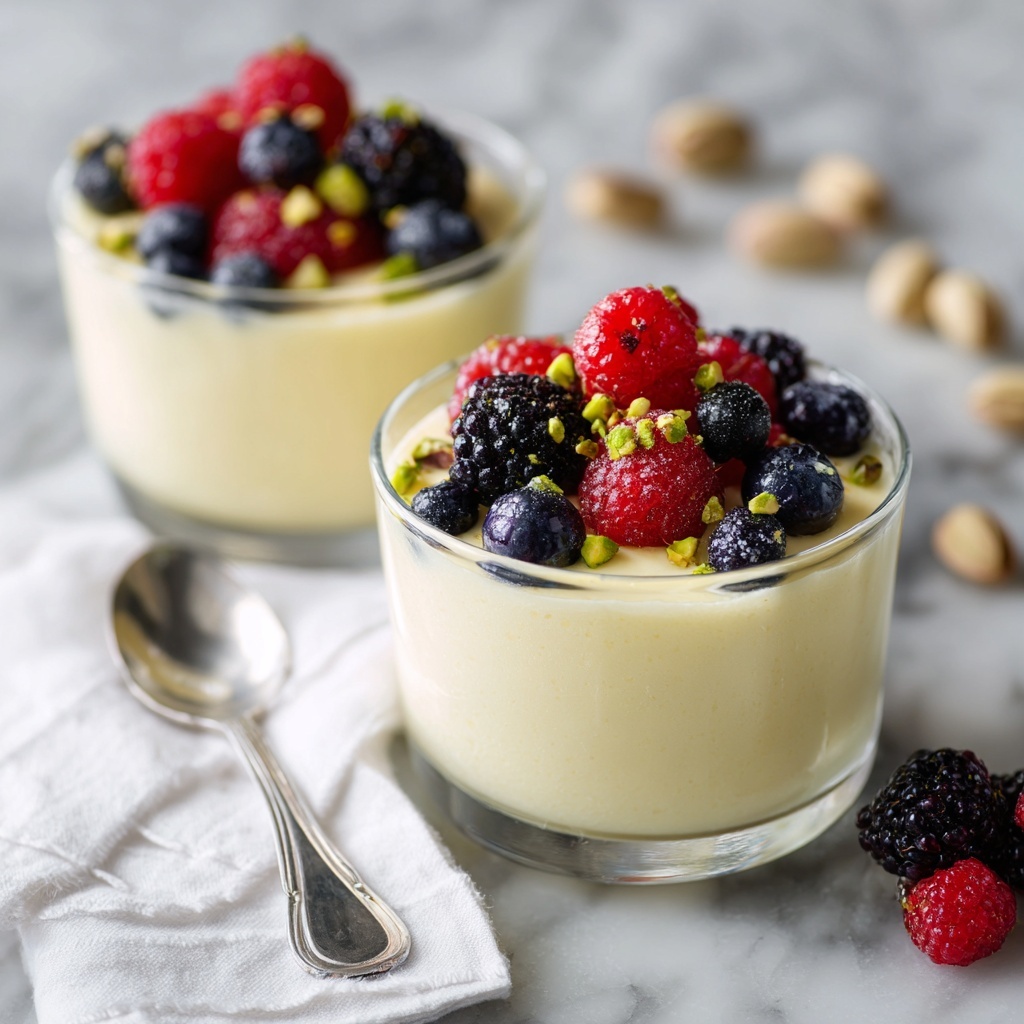
You can serve this custard warm, drizzled over pies, cakes, or fresh fruit—that’s how I often enjoy it on chilly evenings. If you prefer it cold, transfer the custard to a bowl and gently press plastic wrap directly on the surface to prevent a skin from forming. Chill for at least 4 hours or overnight. When ready to serve, spoon it into individual glasses or bowls for a lovely presentation.
Pro Tips for Making Easy Vanilla Custard Recipe
- Take your time tempering: I always pour the hot mixture very slowly into the eggs to keep everything silky smooth—never rush this step.
- Use a non-stick or heavy-bottomed pan: It helps prevent scorching, which can ruin the custard’s delicate flavor.
- Constant stir is key: Stirring continuously while cooking ensures even thickening and avoids lumps.
- Cover with plastic wrap: Pressing the wrap directly onto the custard surface when chilling keeps that annoying skin from forming.
How to Serve Easy Vanilla Custard Recipe
Garnishes
I’m all about simple but fresh garnishes for this custard. A handful of fresh berries, a sprinkle of toasted nuts like almonds or pistachios, or a little grated dark chocolate are favorites of mine. Sometimes I add a touch of whipped cream and a dusting of cinnamon for a cozy vibe. These small touches really brighten the custard and add a nice texture contrast.
Side Dishes
The custard is so versatile it pairs beautifully with almost any dessert. I particularly love serving it alongside a warm fruit tart, a slice of pie, or even a simple sponge cake. It’s excellent with roasted stone fruits, like peaches or plums, too. And honestly, sometimes I just eat it straight up because it’s that good!
Creative Ways to Present
For special occasions, I like to spoon the custard into pretty glass jars or vintage teacups, topped with edible flowers and fresh mint sprigs. Layering it with crumbled cookies or fresh fruit in parfait glasses creates a fun layered dessert. Another idea I tried recently was pouring it into mini ramekins and caramelizing sugar on top with a kitchen torch for a quick homemade crème brûlée twist.
Make Ahead and Storage
Storing Leftovers
Once chilled, I keep any leftover custard stored in an airtight container in the refrigerator. It stays fresh and creamy for up to three days. Just be sure to cover the surface with plastic wrap to prevent skin and off-flavors—this really keeps it tasting fresh like when you just made it.
Freezing
Freezing custard isn’t my go-to because the texture can change, becoming grainy or separating slightly. I’ve experimented with freezing this vanilla custard and found it’s best enjoyed fresh or refrigerated. If you do freeze it, thaw slowly in the fridge and give it a good whisk before serving.
Reheating
If you want to enjoy your custard warm after it’s been chilled, gently warm it over low heat in a saucepan or microwave in short bursts, stirring in between. Avoid boiling, as this will break the custard. I usually heat just until it’s lightly warmed through to keep that silky texture intact.
FAQs
-
Can I use sugar instead of honey in this Easy Vanilla Custard Recipe?
Absolutely! Sugar works just as well as honey to sweeten the custard, though honey gives a subtle flavor nuance that’s lovely. If using sugar, just whisk it directly with the egg yolks before tempering.
-
What’s the best way to prevent the custard from curdling?
The key is tempering the eggs slowly by adding hot cream gradually while whisking constantly. Also, cook the mixture over medium-low heat and stir continuously to avoid overheating the eggs, which causes curdling.
-
Can I make this custard ahead of time?
Yes! This recipe chills beautifully and actually tastes better after resting for a few hours or overnight in the fridge. Just cover tightly with plastic wrap pressed to the surface to avoid a skin forming.
-
What can I serve with this Easy Vanilla Custard Recipe?
It’s wonderful served over warm fruit pies, fresh berries, cakes, or even on its own with a sprinkle of cinnamon or toasted nuts for texture contrast.
Final Thoughts
This Easy Vanilla Custard Recipe has been a staple in my kitchen for years because it’s such a quick way to whip up a classic dessert that everyone loves. It’s forgiving, adaptable, and absolutely delicious whether you serve it warm or chilled. I hope you give this a try—it’s like a little hug in a bowl that can brighten any day, no matter your level of cooking experience. Trust me, once you make it, you’ll find all kinds of delightful ways to enjoy it again and again!
Print
Easy Vanilla Custard Recipe
- Prep Time: 5 minutes
- Cook Time: 15 minutes
- Total Time: 4 hours 20 minutes
- Yield: 4 servings
- Category: Dessert
- Method: Stovetop
- Cuisine: American
Description
This Easy Custard Recipe yields a silky, creamy dessert made with rich cream, milk, egg yolks, and sweetened with honey. Perfect for serving warm over cakes and pies or chilled as a smooth, comforting treat that’s simple to prepare.
Ingredients
Custard Base
- 1 cup heavy cream
- 1 cup whole milk
Custard Mix
- 5 large egg yolks
- 2 tablespoons honey
- 2 teaspoons cornstarch, arrowroot powder, or tapioca flour
- 1 teaspoon vanilla extract
Instructions
- Heat the cream: Add the heavy cream and milk to a saucepan over medium heat. Whisk occasionally until it just starts to simmer with bubbles along the edges, then remove from the heat.
- Temper the eggs: In a medium bowl, whisk together the egg yolks, honey, arrowroot powder, and vanilla extract. Slowly pour half of the hot cream mixture into the egg mixture while continuously whisking to prevent curdling.
- Combine and thicken: Pour the tempered egg mixture back into the saucepan. Stir over medium-low heat for 1 to 3 minutes until the custard slightly thickens. Remember it will thicken further as it cools.
- Serve: Serve warm as a drizzle over desserts such as cake or pie, or chill by transferring the custard to a bowl, covering with plastic wrap touching the surface, and refrigerate for 4 hours or overnight. Spoon into glasses to serve chilled.
Notes
- This custard is wonderfully silky and creamy, making it an easy homemade alternative to store-bought custards.
- Whisk slowly and steadily when tempering eggs to avoid curdling.
- Use plastic wrap pressed directly on the surface when chilling to prevent a skin from forming.
- Can be served warm or cold to suit your dessert needs.
Nutrition
- Serving Size: 1 serving
- Calories: 353
- Sugar: 14 g
- Sodium: 51 mg
- Fat: 29 g
- Saturated Fat: 17 g
- Unsaturated Fat: 10 g
- Trans Fat: 0 g
- Carbohydrates: 16 g
- Fiber: 0.1 g
- Protein: 7 g
- Cholesterol: 318 mg


