
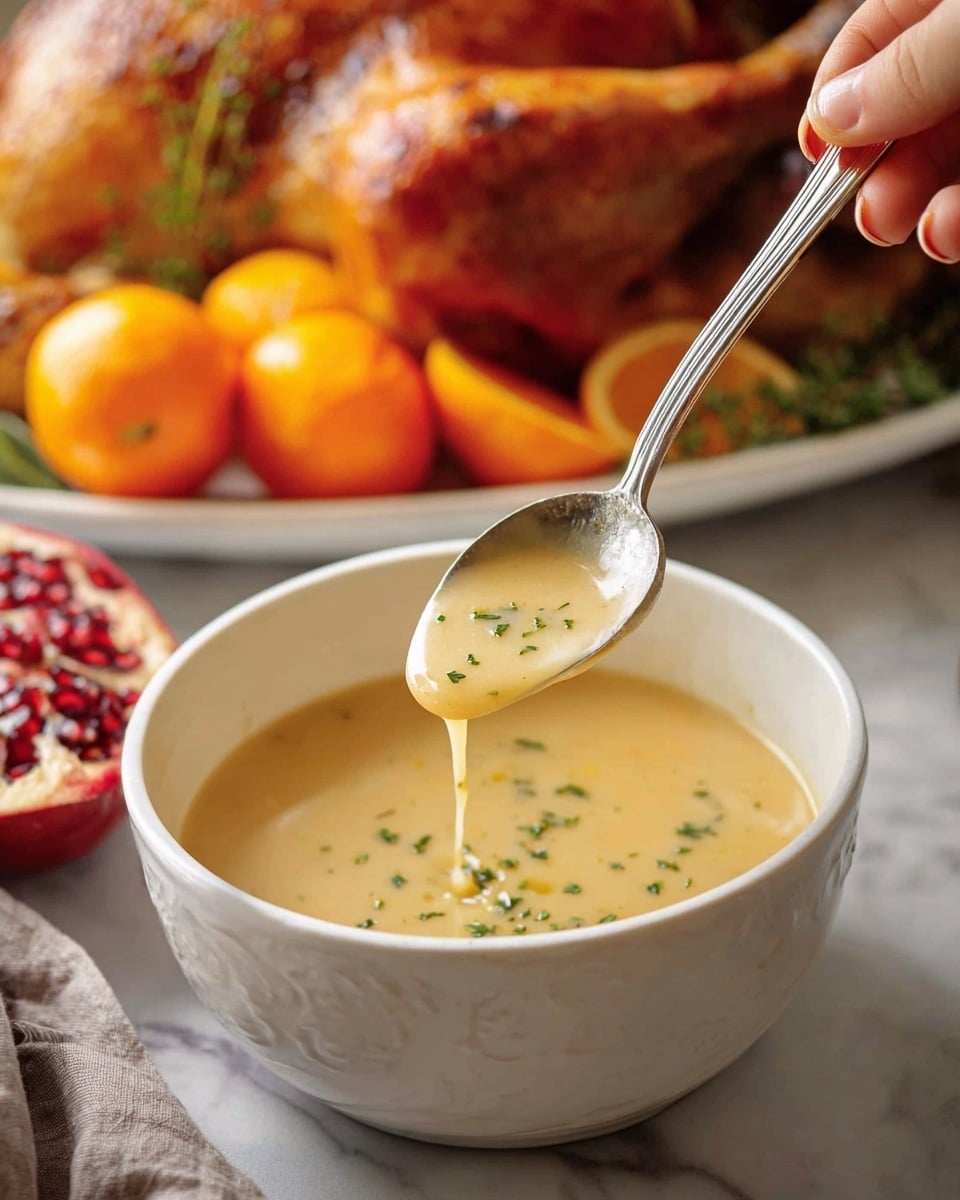
When it comes to Thanksgiving or any roast turkey dinner, nothing beats the rich, comforting flavors of homemade gravy. I’m so excited to share my Creamy Turkey Gravy from Drippings Recipe with you because it takes those flavorful pan drippings and turns them into something truly magical. Not only does this gravy taste incredible, but it also captures the essence of your roasted turkey perfectly. Trust me, once you make it from scratch, you’ll never want to buy the jarred stuff again!
Why You’ll Love This Recipe
- Authentic Flavor: Uses your turkey’s own drippings, so every bite is packed with real roasted turkey goodness.
- Creamy and Smooth: The perfect balance of richness without feeling heavy or greasy.
- Simple Technique: You don’t need fancy ingredients or equipment; just a bit of patience and whisking.
- Flexible & Adaptable: You can tweak the consistency, add broth, or keep it dairy-free with easy swaps.

Ingredients You’ll Need
These ingredients come together beautifully to create that silky, luscious gravy you’ve been craving. I typically keep it straightforward, but I’ll share a few tips to help you pick the best components for your gravy.
- All-purpose flour (or gluten-free 1:1 flour): This is your thickening agent — I use a gluten-free blend when I want to keep things allergy-friendly without sacrificing texture.
- Fat drippings from roasted turkey: This adds all the flavor and richness. If you don’t have enough, adding butter can boost the taste and fat content.
- Turkey drippings, skimmed of fat (or broth/water): This liquid base provides that deep turkey essence; topping it up with broth is a great way to add more flavor and volume if needed.
- Milk, stock, or water: Adding this helps achieve that perfectly creamy consistency and lets you adjust the thickness on the fly.
- Salt and pepper: Essential seasonings to enhance and balance the gravy’s natural flavors.
Variations
I love making this creamy turkey gravy my own depending on the occasion or what I have in the fridge. Cooking is all about personalization, so feel free to experiment as you get comfortable with the base recipe.
- Herb-Infused Gravy: One time, I added a sprig of fresh thyme and a crushed garlic clove to the drippings as they simmered—this elevated the flavor and made my family go wild.
- Dairy-Free Version: Replace the milk with extra turkey broth or a splash of coconut milk for a creamy texture without dairy.
- Spiced Up: A pinch of smoked paprika or a dash of cayenne pepper gives the gravy a subtle kick that’s fantastic alongside mashed potatoes.
- Vegetarian-Style Gravy: If you roast a vegetable or use mushroom broth, you can create a similar gluten-free, creamy gravy without turkey drippings—it’s a different but tasty take.
How to Make Creamy Turkey Gravy from Drippings Recipe
Step 1: Collect and Skim the Turkey Drippings
Once your turkey is off the roasting pan and resting (this is important to keep it juicy!), carefully pour the entire pan drippings through a fine mesh sieve into a large measuring cup. I always catch bits of roasted herbs or burnt bits this way to keep the gravy smooth. After pouring, let the liquid sit for a minute to allow the fat to float to the top. Use a spoon to skim off about 3 tablespoons of that fat and transfer it to a medium saucepan. If you don’t have enough drippings fat, no worries—you can make up the difference with butter.
Step 2: Make the Roux
Place the saucepan with the turkey fat over medium heat. Once it starts to shimmer and sizzle, whisk in 3 tablespoons of flour until it forms a smooth paste. Keep stirring constantly to avoid lumps and cook until the mixture turns a lovely light golden brown, about 2 minutes. This step cooks out the raw flour taste and builds the foundation for a smooth gravy.
Step 3: Add Broth and Whisk to Perfection
Slowly and steadily pour in the remaining turkey drippings liquid (about 2 cups after skimming the fat). Keep whisking as you add the liquid to prevent lumps. Bring the gravy to a gentle boil while whisking continuously. This is where you’ll start seeing that creamy consistency develop. You might want to adjust the thickness here by adding 1/4 cup of milk, broth, or water until it looks just right. It’s better to add liquid gradually because it’s much easier to thin your gravy than to thicken it once it’s too runny.
Step 4: Season and Simmer
Reduce heat and let your gravy simmer gently for about 5 minutes, stirring occasionally. Taste and season with salt and freshly ground black pepper according to your preference. When it’s done, remove from heat, cover with a lid, and keep warm until serving. Remember, the gravy will thicken a bit as it cools, so don’t worry if it seems slightly thin at first.
Pro Tips for Making Creamy Turkey Gravy from Drippings Recipe
- Perfect Roux Timing: Don’t rush browning your flour—the light golden color is key to flavor without graininess.
- Skim That Fat Well: I learned that removing excess fat prevents greasy gravy and lets true turkey flavor shine.
- Whisk, Whisk, Whisk: Constant whisking while adding liquids keeps the gravy silky and lump-free.
- Adjust Thickness Slowly: Add broth or water in small amounts to get the perfect pourable consistency without over-thinning.
How to Serve Creamy Turkey Gravy from Drippings Recipe
Garnishes
I usually top my gravy with a few fresh chopped parsley leaves just before serving. It adds a pop of color and a subtle freshness that balances the richness. A sprinkle of cracked black pepper right at the end can also elevate the presentation and taste beautifully.
Side Dishes
This creamy turkey gravy pairs famously with mashed potatoes (my family’s favorite), roasted veggies, stuffing, and, of course, drizzled over slices of turkey. If you want to get fancy, try spooning some over warm buttery dinner rolls or cooked wild rice.
Creative Ways to Present
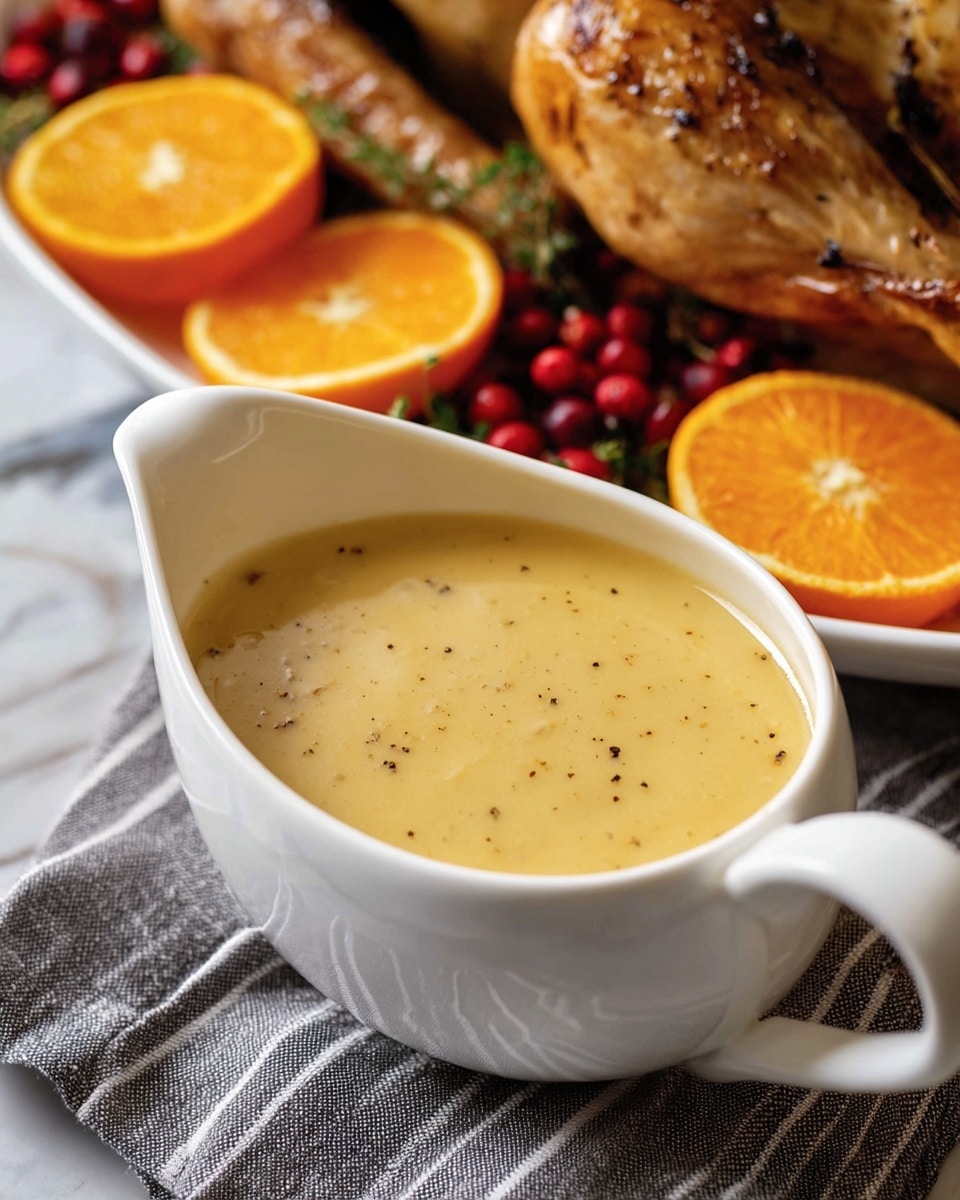
For holiday dinners, I like serving the gravy in a beautiful ceramic gravy boat with a ladle, letting guests help themselves. Sometimes I add a tiny rosemary sprig in the boat for a rustic touch. If you want to get whimsical, try individual miniature gravy boats at each place setting—always a crowd-pleaser and conversation starter!
Make Ahead and Storage
Storing Leftovers
I pour leftover gravy into an airtight container and store it in the fridge for up to 3 days. When you reheat it, the gravy thickens quite a bit, so I always add a splash of broth or water to loosen it back up to that creamy goodness.
Freezing
Freezing this gravy works well if you want to save time before the next big meal. I freeze it in small portions, making sure it cools completely first. Just thaw it overnight in the fridge, then reheat gently on the stove while whisking and adding liquid as needed.
Reheating
To reheat, I place the gravy in a saucepan over low to medium heat, stirring often so it warms evenly and doesn’t stick. Adding a little extra broth or milk keeps it creamy and prevents it from getting gluey. Avoid the microwave if you can—it’s harder to control the texture that way.
FAQs
-
Can I make Creamy Turkey Gravy from Drippings Recipe ahead of time?
Yes, you absolutely can! I often make the gravy a day in advance. Just reheat it gently on the stove, adding a bit of broth or milk to bring it back to the perfect consistency. Just be sure to cover and refrigerate it promptly to keep it fresh.
-
What if I don’t have enough turkey drippings?
If your turkey didn’t produce enough drippings, no worries—I add butter to make up for the fat and use extra turkey or chicken broth to reach my liquid amount. This way, the gravy still has tons of flavor without feeling thin.
-
How do I prevent lumps in my cream turkey gravy?
The key is to whisk constantly when you add the flour and the liquids. Making a smooth roux first and adding liquids gradually while whisking keeps the texture velvety and lump-free every time.
-
Can I make this gravy gluten-free?
Definitely! Swap out the all-purpose flour for a gluten-free 1:1 baking flour blend, and you’ll still get that same great creamy consistency and flavor. Just be sure your broth is also gluten-free.
Final Thoughts
I absolutely love how this Creamy Turkey Gravy from Drippings Recipe turns out—each time it feels like a warm hug on a plate. When I first tried making gravy from scratch, I was intimidated by the thought of lumps and bland flavors, but once I nailed this method, it quickly became a holiday favorite for my whole family. You’ll find that by paying attention to those drippings and whisking patiently, you get a gravy that’s rich, silky, and packed with turkey goodness. So go ahead and try it—you’ll be so glad you did, and your turkey dinner will feel a little more special for it.
Print
Creamy Turkey Gravy from Drippings Recipe
- Prep Time: 5 minutes
- Cook Time: 7 minutes
- Total Time: 12 minutes
- Yield: 8 servings
- Category: Sauce
- Method: Stovetop
- Cuisine: American
- Diet: Gluten Free
Description
This classic turkey gravy recipe is the perfect complement to your roasted turkey. Made from the flavorful drippings left in the roasting pan, it’s rich, smooth, and easy to prepare on the stovetop. Whether for Thanksgiving or any special meal, this gravy enhances your turkey with a savory, velvety sauce.
Ingredients
Gravy Ingredients
- 3 Tbsp all-purpose flour, or use Gluten-Free 1:1 flour
- 3 Tbsp fat drippings from roasted turkey
- 2 cups turkey drippings, skimmed of fat (add water or broth if needed to make 2 cups)
- 1/4 cup milk, stock, or water, or added to desired consistency
- Salt and pepper to taste
Instructions
- Collect Drippings: Once your turkey has rested after roasting, strain all drippings from the roasting pan through a fine mesh sieve into a large measuring cup, discarding any solids caught in the sieve. Let settle for a minute so the fat floats to the top and broth sinks.
- Prepare Fat and Broth: Skim off 3 Tbsp of fat and transfer it to a medium saucepan (if insufficient fat is available, supplement with butter). Discard the excess fat left in the measuring cup. Ensure you have about 2 cups of broth—add water or stock if needed to reach this volume.
- Create Roux: Place the saucepan over medium heat. When the oil/fat starts to sizzle, whisk in 3 Tbsp flour until fully combined. Continue whisking for about 2 minutes until the mixture becomes light golden brown, developing a nutty aroma.
- Add Broth Gradually: Slowly pour the skimmed turkey broth into the saucepan while whisking constantly to avoid lumps. Bring this mixture to a gentle boil while whisking to activate thickening.
- Adjust Consistency and Season: Stir in 1/4 cup milk, stock, or water to achieve your desired gravy consistency, then simmer for 5 minutes. Season with salt and pepper according to taste. Remove from heat, cover with a lid to keep warm, and transfer to a gravy boat before serving. Note that the gravy will thicken slightly as it cools.
Notes
- To thin the gravy, add more liquid gradually to avoid making it too watery.
- If the gravy is too thin, thicken it by stirring in a cornstarch slurry (mix 1 Tbsp cornstarch with 2 Tbsp cold water) and cooking until thickened.
Nutrition
- Serving Size: 1/8 recipe (about 1/4 cup)
- Calories: 60
- Sugar: 0.5 g
- Sodium: 180 mg
- Fat: 3.5 g
- Saturated Fat: 1 g
- Unsaturated Fat: 2 g
- Trans Fat: 0 g
- Carbohydrates: 5 g
- Fiber: 0 g
- Protein: 1 g
- Cholesterol: 8 mg

