

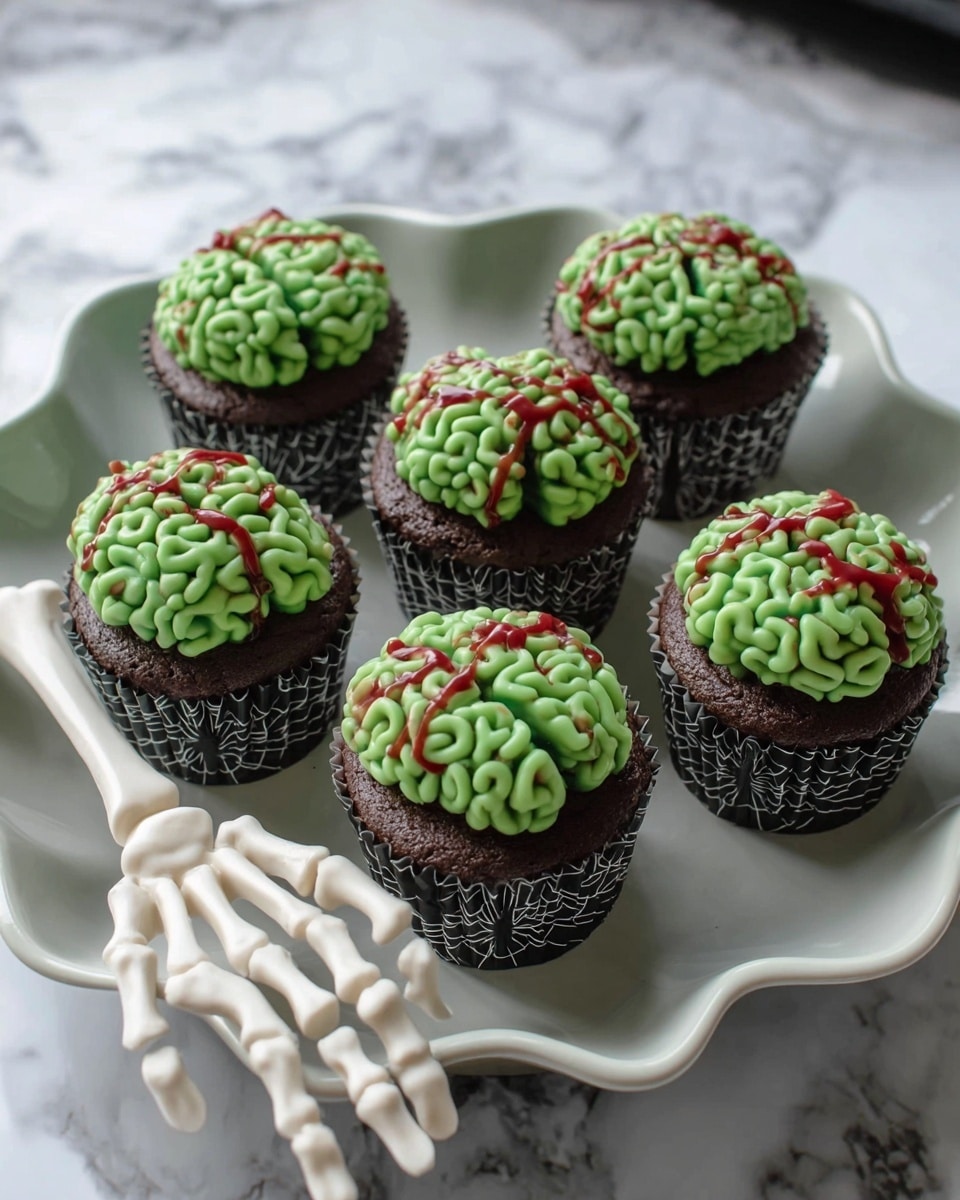
If you’re on the hunt for a spooky yet downright delicious treat this season, you’re going to love this Zombie Brain Halloween Cupcakes Recipe. I absolutely love how these cupcakes turn out — not only are they tasty, but their creepy, gooey frosting really steals the show. When I first tried making these, I was surprised how simple it was to get that brain-like look using just a few piping tricks. Stick with me, and I’ll walk you through everything you need to wow your Halloween guests (and maybe even your little monsters at home)!
Why You’ll Love This Recipe
- Easy to Make: You don’t need to be a piping pro or cake decorator to nail the spooky brain look.
- Kid Friendly: Kids love helping and eating these – it’s fun and festive for the whole family.
- Delicious Base: The rich chocolate cupcakes pair perfectly with the light and fluffy green buttercream.
- Perfect Halloween Centerpiece: They’re as much a conversation starter as a sweet treat for your party table.

Ingredients You’ll Need
These Zombie Brain Halloween Cupcakes recipe ingredients are straightforward and easy to find. Using a boxed chocolate cake mix keeps things simple, and making your own buttercream means you control the sweetness and texture. I recommend good quality food coloring so the green pops just right!
- Chocolate cupcake mix: Boxed mixes work perfectly here—you’ll get consistent results with minimal effort.
- Buttercream frosting: Making it yourself allows you to add that perfect hint of vanilla and get the right fluffy texture.
- Green food coloring: I use gel-based colors because they give a vibrant hue without watery frosting.
- Wilton 7 round tip: This tip helps create the squiggly brain lines with ease.
- Coupler: Keeps your piping tip secure and makes changing tips hassle-free.
- Piping bag (or ziplock bag): A convenient tool to pipe on the brain frosting; ziplock bags work great if you don’t have a piping bag.
- Light corn syrup: Adds a glossy ‘brain goo’ effect when tinted red and piped on top.
- Red and green food coloring: Green for the buttercream, red mixed into corn syrup for a blood-like finish.
Variations
I love giving this recipe my own twist depending on the crowd. You can totally play around with flavors or colors to fit your Halloween vibe. These cupcakes are a perfect canvas for creativity—get spooky, get colorful, or even make them kid-friendly with less sugar.
- Flavor Swap: I once replaced the chocolate cupcake with red velvet for a bloodier look, and it was a hit at my Halloween party!
- Dairy-Free Buttercream: Using coconut oil and powdered sugar makes a tasty vegan version, perfect for friends with allergies.
- Color Varieties: Try a pale purple or eerie blue frosting with a little shimmer dust for a different kind of creepy.
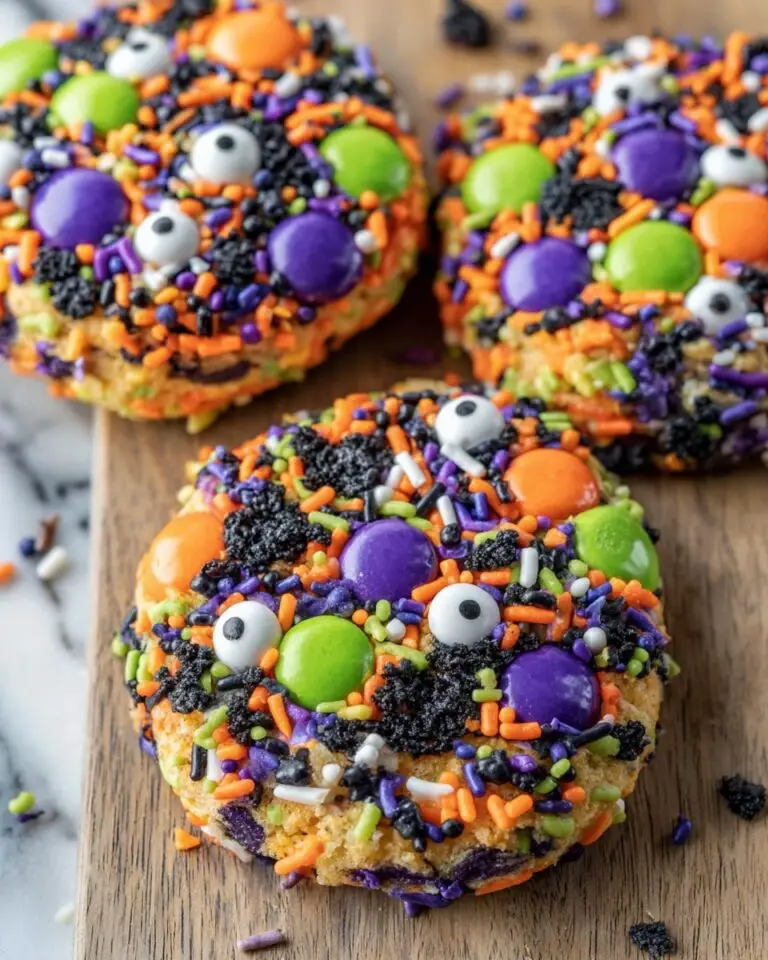
- Extra Ghoulish: Add edible eyes or candy bones on top with the brain frosting for a fun twist.
How to Make Zombie Brain Halloween Cupcakes Recipe
Step 1: Bake Your Cupcakes with Care
Start by preparing your chocolate cupcakes according to the box instructions (or your favorite homemade recipe). I find filling the cupcake liners a little less than two-thirds full helps them bake with nice, flat tops, which makes frosting easier later. Bake, then let them cool completely—don’t frost warm cupcakes or the buttercream might melt and lose its shape!
Step 2: Whip Up the Perfect Green Buttercream
I use a simple buttercream recipe with softened butter, powdered sugar, a splash of vanilla, and a little milk if it feels too thick. Add green gel food coloring a bit at a time until you hit that spooky, vibrant brain color. Getting the right shade balance is key, so don’t rush it. The frosting should be fluffy but thick enough to hold its shape when piped.
Step 3: Pipe Your Brains with Love
Fit your piping bag with the Wilton 7 round tip (or cut a small corner off a ziplock bag) and fill it with your green frosting. Begin by piping a single line down the middle of each cupcake — this is your brain’s central sulcus! Then, with a slight squiggle motion, pipe irregular lines on each side, layering a bit to fill gaps. This is what makes the frosting look like twisted brain folds.
Step 4: Add the Creepy Corn Syrup ‘Blood’
Put a little light corn syrup in a separate small bag, mix with a touch of red food coloring until it looks like fresh brain goo. Pipe over the frosting in the same squiggly pattern but less densely—this adds a shiny, gooey finish that truly sells the zombie brain effect. Don’t overload it or the syrup might drip!
Pro Tips for Making Zombie Brain Halloween Cupcakes Recipe
- Use Gel Food Coloring: It intensifies the color without thinning your frosting.
- Piping Practice: Practice your squiggly lines on parchment paper first for confidence.
- Cool Cupcakes Are Key: Always make sure cupcakes have cooled completely before frosting to keep your brain shapes sharp.
- Corn Syrup Trick: Mix corn syrup with food coloring gradually and pipe slowly to avoid dripping or mess.
How to Serve Zombie Brain Halloween Cupcakes Recipe
Garnishes
For my own parties, I love adding a few edible eyes around some cupcakes or a sprinkle of black sanding sugar on the edges for extra creepy texture. You can also toss on some Halloween-themed sprinkles or edible glitter if you want to glam things up a bit!
Side Dishes
Pair these cupcakes with some classic Halloween punch, popcorn balls, or a tray of spooky cookies like ghost-shaped sugar cookies or spiderweb brownies. I’ve found a simple fruit platter with orange and black grapes also complements the look and balances the sweetness.
Creative Ways to Present
I like to display these Zombie Brain Halloween Cupcakes recipe treats on a skull or coffin-shaped cake stand for an unforgettable centerpiece. Adding faux spider webs and small plastic spiders around the display adds to the eerie vibe. For kids, I sometimes plate them inside a cauldron-shaped container—instant spooky magic!
Make Ahead and Storage
Storing Leftovers
Once frosted, I keep my leftover cupcakes stored in an airtight container in the fridge. The buttercream stays fresh this way for up to 3 days, though they’re usually devoured way before that!
Freezing
Freezing works nicely if you want to prep ahead. Freeze unfrosted cupcakes on a baking sheet, then transfer to a freezer-safe bag once solid. When ready, thaw overnight in the fridge and pipe frosting fresh. I’ve tried freezing them fully decorated but the corn syrup “blood” can get sticky and messy, so I avoid freezing finished cupcakes.
Reheating
Since these cupcakes are best served cool, reheating isn’t usually necessary. If you want to take the chill off, let them sit at room temperature for 30 minutes before serving. This keeps the buttercream smooth without melting it.
FAQs
-
Can I use homemade cupcakes instead of boxed mix for this recipe?
Absolutely! Homemade cupcakes add a lovely personal touch, and as long as your cupcakes have flat tops, the frosting technique will work perfectly. Just be sure to let them cool completely before frosting.
-
What if I don’t have piping bags or tips?
No worries! You can use a sturdy ziplock bag and cut a small corner off to mimic a piping bag. It might take a touch more patience, but it works surprisingly well for creating the squiggly brain lines.
-
How long do these cupcakes stay fresh?
Stored airtight in the refrigerator, they stay fresh for up to 3 days. Beyond that, the buttercream texture and flavor might start to decline.
-
Can I make this recipe vegan or gluten-free?
Yes! Swap your cupcake base with gluten-free or vegan options, and use dairy-free buttercream recipes. The frosting technique remains the same, so you’ll still get that awesome zombie brain effect.
-
How do I get the ‘brain’ texture in the frosting?
The key is piping a line down the middle of the cupcake, then layering squiggly lines on either side to mimic brain folds. Doing 2-3 layers and filling in gaps as you go helps create that realistic look.
Final Thoughts
I can say without a doubt that this Zombie Brain Halloween Cupcakes Recipe has become a staple whenever I want to impress at Halloween parties. It’s the perfect blend of spooky and scrumptious, and these cupcakes always bring a smile—both the thrill of the ‘gross’ look and the comfort of a classic chocolate treat. I hope you give this a try and maybe even customize it your own way. From one cupcake-loving friend to another, happy baking and have a frightfully fun Halloween!
Print
Zombie Brain Halloween Cupcakes Recipe
- Prep Time: 20 minutes
- Cook Time: 18 minutes
- Total Time: 38 minutes
- Yield: 12 cupcakes
- Category: Dessert
- Method: Baking
- Cuisine: American
Description
Celebrate Halloween with these spooky and fun Zombie Brain Halloween Cupcakes! Featuring a rich chocolate base topped with vibrant green buttercream piped to resemble brains, and finished with red and green colored corn syrup to mimic veins and add a gruesome detail. Perfect for Halloween parties and sure to be the highlight of your dessert table.
Ingredients
Cupcakes
- 1 boxed chocolate cake mix (or homemade chocolate cupcake batter)
- Ingredients as called for on the cake mix box (usually eggs, oil, and water)
Frosting
- 1 batch green buttercream frosting (see reference recipe)
- Green food coloring, as needed to achieve desired brain color
- Light corn syrup
- Red food coloring
- Green food coloring (for corn syrup veins)
Instructions
- Prepare and Bake Cupcakes: Bake chocolate cupcakes according to the boxed cake mix or homemade recipe instructions. Fill each cupcake liner a little less than 2/3 full to ensure flat tops after baking. Allow cupcakes to cool completely before frosting.
- Make Green Buttercream Frosting: Prepare a batch of buttercream frosting. Gradually add green food coloring until the desired vibrant brain-like color is achieved.
- Pipe Brain Design: Fit a piping bag with a Wilton 7 round tip and fill it with the green buttercream frosting. Starting in the center of the cupcake, pipe a line down the middle. Then pipe squiggly lines on each side in a random pattern to resemble brain folds. Add a second layer of piping if necessary to fill in gaps and create dimension.
- Create Veins with Colored Corn Syrup: Mix light corn syrup with a few drops of red food coloring to create a blood-like color, and a small amount with green coloring as well for extra detail. Place the colored corn syrup in a piping bag or ziplock bag with a small corner snipped off. Pipe random squiggles and veins over and around the buttercream to add a creepy, realistic effect.
- Display: Arrange the finished zombie brain Halloween cupcakes on a festive cake plate in the center of your Halloween table as a spooky centerpiece guaranteed to impress your guests!
Notes
- Use a ziplock bag with a small corner cut if you don’t have a piping bag.
- If you want to make it more eerie, consider adding candy eyes or edible glitter as additional decoration.
- The green buttercream frosting recipe can be substituted with any preferred frosting tinted green.
- Ensure cupcakes are completely cooled before frosting to prevent melting.
- These cupcakes can be prepared a day in advance and refrigerated; bring to room temperature before serving.
Nutrition
- Serving Size: 1 cupcake
- Calories: 320
- Sugar: 28g
- Sodium: 180mg
- Fat: 16g
- Saturated Fat: 8g
- Unsaturated Fat: 6g
- Trans Fat: 0g
- Carbohydrates: 38g
- Fiber: 2g
- Protein: 3g
- Cholesterol: 45mg


